Quick Summary: A complete guide to preserving fresh fruits and vegetables from your garden or farmers’ market. Covers freezing, dehydrating, pickling, canning, salt preservation, root cellaring, shrub syrups, fermenting, air drying, and compound butters. Each method includes when to use it, basic technique, and links to detailed recipes. From a farmer who preserves the harvest from a 23-acre organic farm.
Jump to: Freezing | Dehydrating | Pickling | Canning | Salting | Root Celler | Drink Syrups | Fermenting | Air drying | Compound Butters | FAQ
This guide covers ten ways to preserve fresh produce, from the simplest (freezing) to the more involved (canning, fermenting). Use the jump links to find what you need, or read through to build your preservation toolkit.
At HeathGlen Farm, preservation isn’t optional. When the tomatoes come in, they come in by the bushel. When the peppers ripen, I’m picking daily. The only way to manage abundance is to know how to put food by for later.
Over twenty years of farming, I’ve used every preservation method here. Some I use constantly (freezing, dehydrating, compound butters). Others I pull out for specific harvests (canning for jams and sauces, fermenting for end-of-season green tomatoes). Each method has its place depending on what you’re preserving, how much time you have, and how you plan to use the food later.
This post may contain affiliate links, and you can read our disclosure information here–
1. Freezing
Freezing is the easiest and most versatile preservation method. Most fruits and vegetables freeze well with minimal preparation, and you don’t need special equipment beyond freezer bags and baking sheets.
The key technique is flash freezing: spread prepared produce in a single layer on a parchment-lined baking sheet, freeze until solid (about 3 hours), then transfer to labeled freezer bags. This prevents produce from clumping into an unusable frozen block.
Some vegetables benefit from blanching before freezing, which preserves color and texture. Check this blanching chart for specific vegetables.
Best for: Berries, tomato sauce, peppers, corn, greens, prepared soups and meals
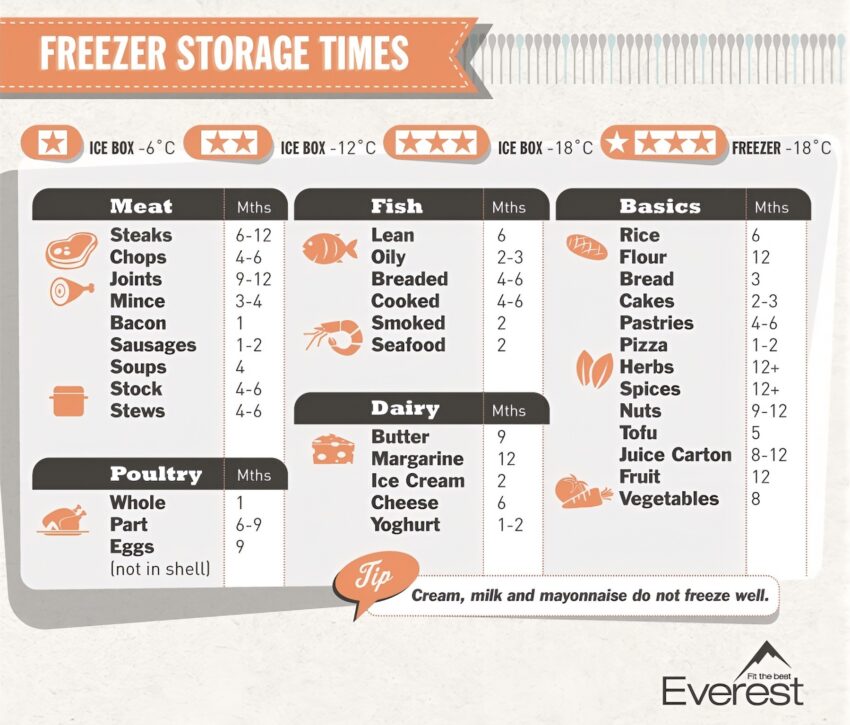
How long it lasts: 6-12 months depending on the food
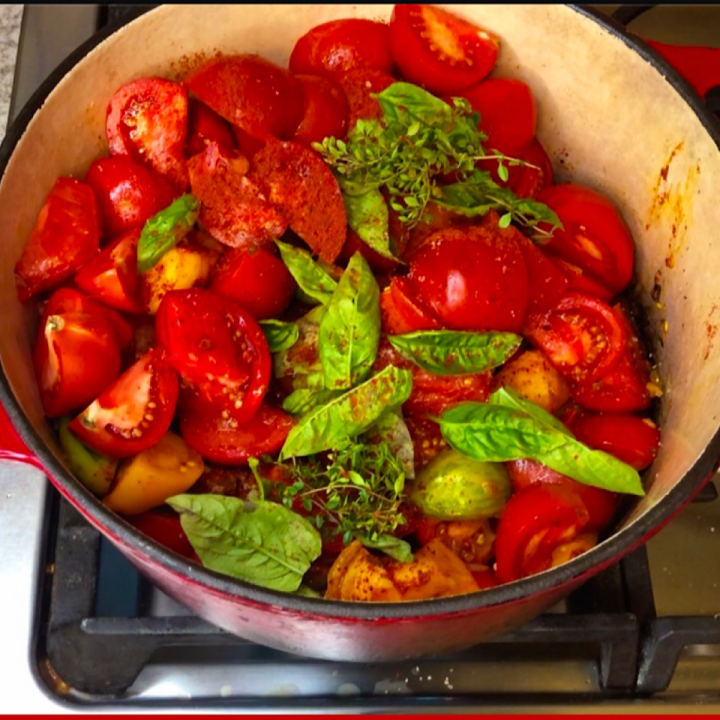
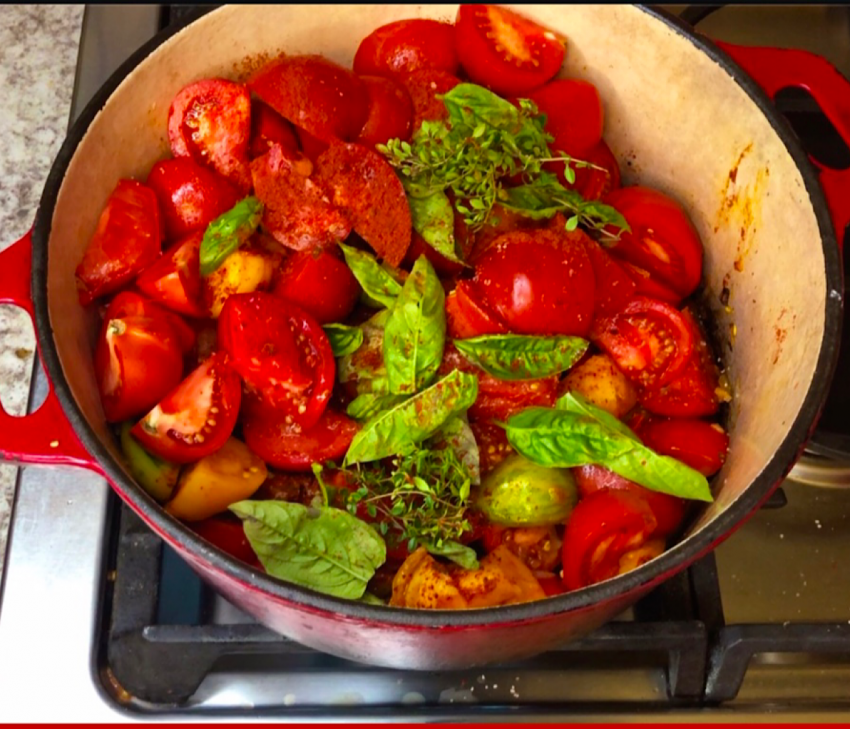
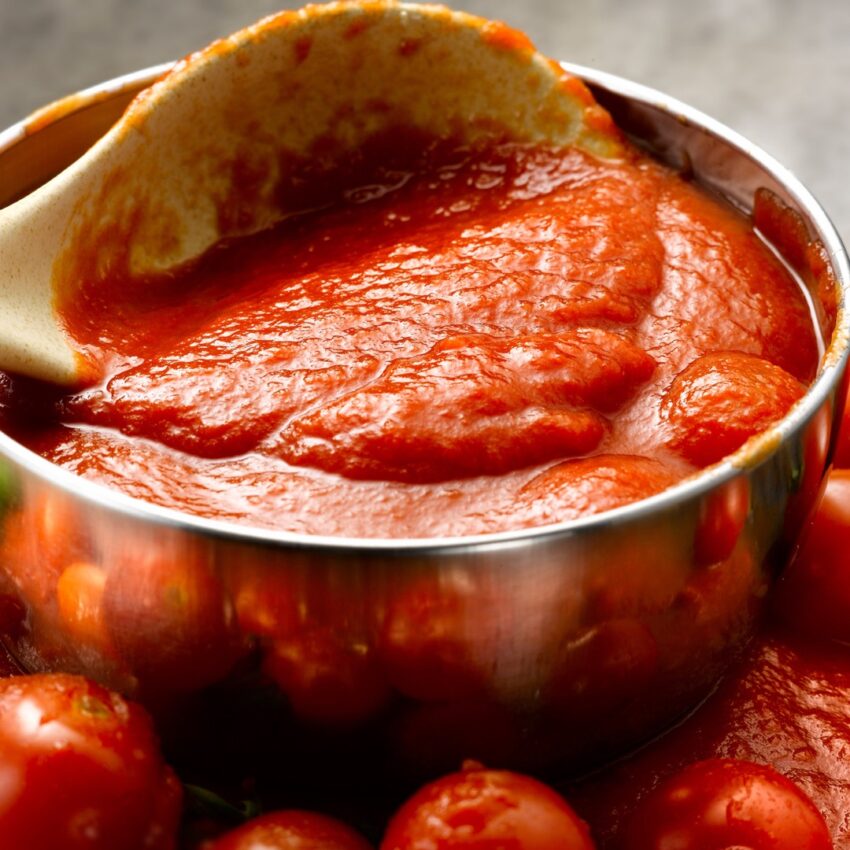
My go-to method for the tomato harvest is this Freezer Tomato Sauce
This freezing chart from Everest is a great cheat sheet to keep handy:
Detailed Method:
Although some foods can be frozen whole, for the best results, it’s often better to follow this method:
- Check whether the particular food you want to freeze should be blanched beforehand. With some produce, a quick blanch really helps to keep the quality up (and it preserves the color).
- Cut your produce into pieces that will fit the end uses you have in mind
- Place the pieces on an oven tray lined with parchment paper, making sure the edges don’t touch, and pop the tray into the freezer for at least 3 hours. This is referred to as flash freezing and ensures you won’t end up with one big frozen block that’s impossible to divide into portions.
- Transfer to labeled freezer bags. Now your fruit or vegetables will last for months and you can easily grab them whenever you need them for a recipe!
2. Dehydrating
Dehydrating concentrates flavor and creates shelf-stable foods that store without refrigeration. A food dehydrator makes the process simple and consistent, though oven drying works for some foods.
This is my favorite dehydrator that I use in my commercial kitchen on the farm.
Method: Slice produce uniformly thin for even drying. Most vegetables dry at 125-135°F for 6-12 hours depending on moisture content. Properly dried produce should be leathery to brittle with no soft spots.
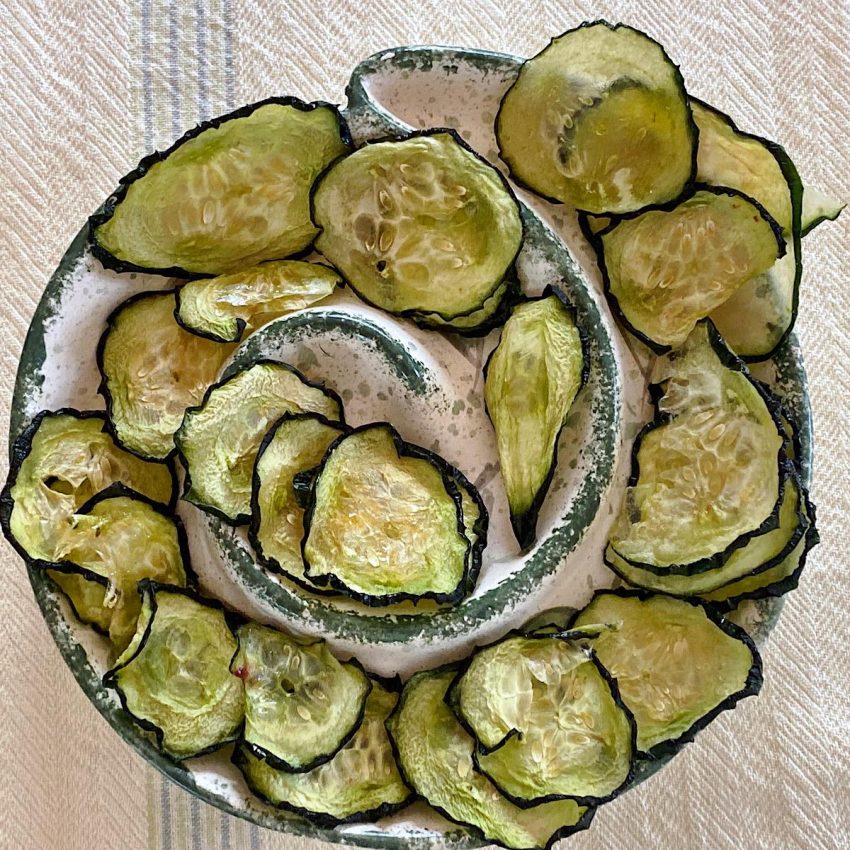
Dehydrated produce can be eaten as snacks (chips), rehydrated for cooking (dried tomatoes, dried peppers), or ground into powder for seasoning.
Best for: Tomatoes, peppers, beets, cucumbers, apples, herbs
How long it lasts: 6-12 months in airtight containers
Recipes to try:
- Sundried tomatoes: a no-brainer, really. If you’re making the frozen pasta sauce mentioned above, definitely throw in some of these for a little extra umph.
- Dried beet chips: these don’t last for more than an afternoon in my house before mysteriously disappearing.
- Dried cucumber chips: add salt and vinegar to take these to the next level.
- Dried tomato powder: dehydrating fresh tomatoes and grinding them into powder concentrates their flavor. Add to pasta sauces, soup and more! You can also do this with peppers.
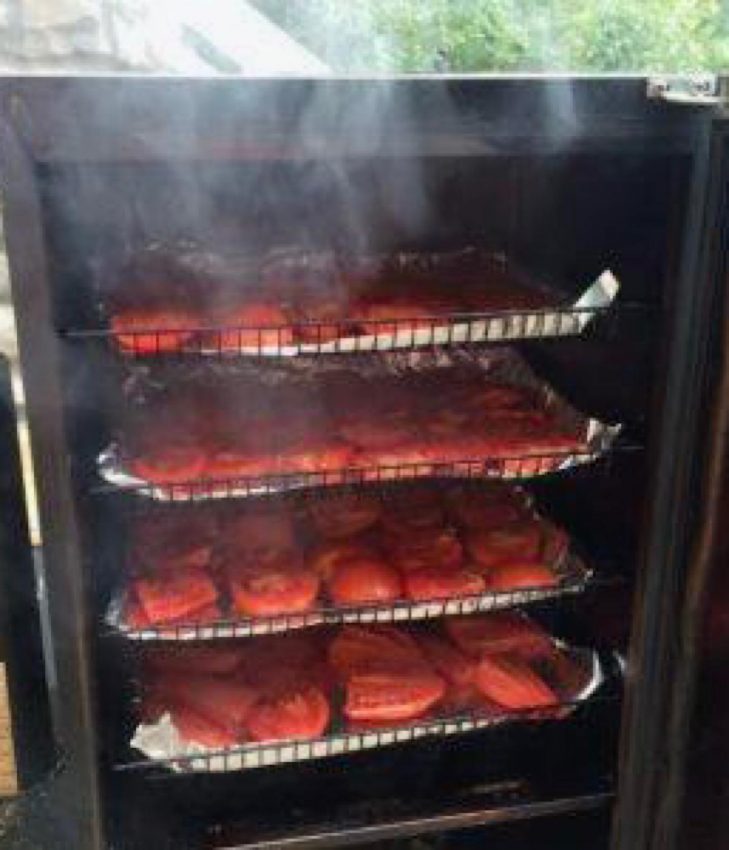
**Pro Tip: Some dehydrated vegetables, like tomatoes and chiles, can be taken to a whole other level by smoking them in a smoker before drying them. Here is a guide on How to Smoke Chile Peppers at Home.
3. Pickling (Quick Pickles)
Quick pickles are the fastest way to preserve produce without special equipment. Combine vegetables with a brine of vinegar, water, sugar, salt, and spices. Refrigerate for at least 24 hours. The acid preserves the vegetables for up to a month in the refrigerator.
Unlike canning, quick pickles don’t require sterilization or a water bath. The tradeoff is shorter storage time and the need for refrigeration.
Quick pickles add brightness and acidity to dishes. Pickled onions on tacos, pickled green tomatoes in salads, pickled peppers on sandwiches.
Best for: Onions, cucumbers, green tomatoes, peppers, carrots, radishes, eggs
How long it lasts: Up to 1 month refrigerated
Recipes to try:
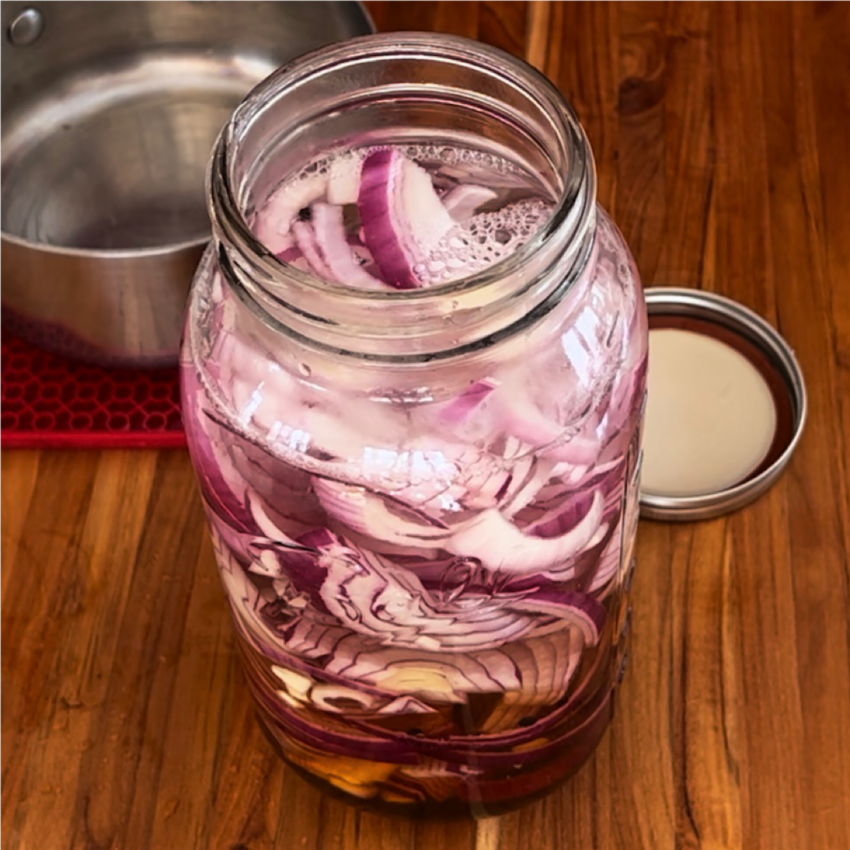
- Pickled Red Onions – essential for Mexican tacos
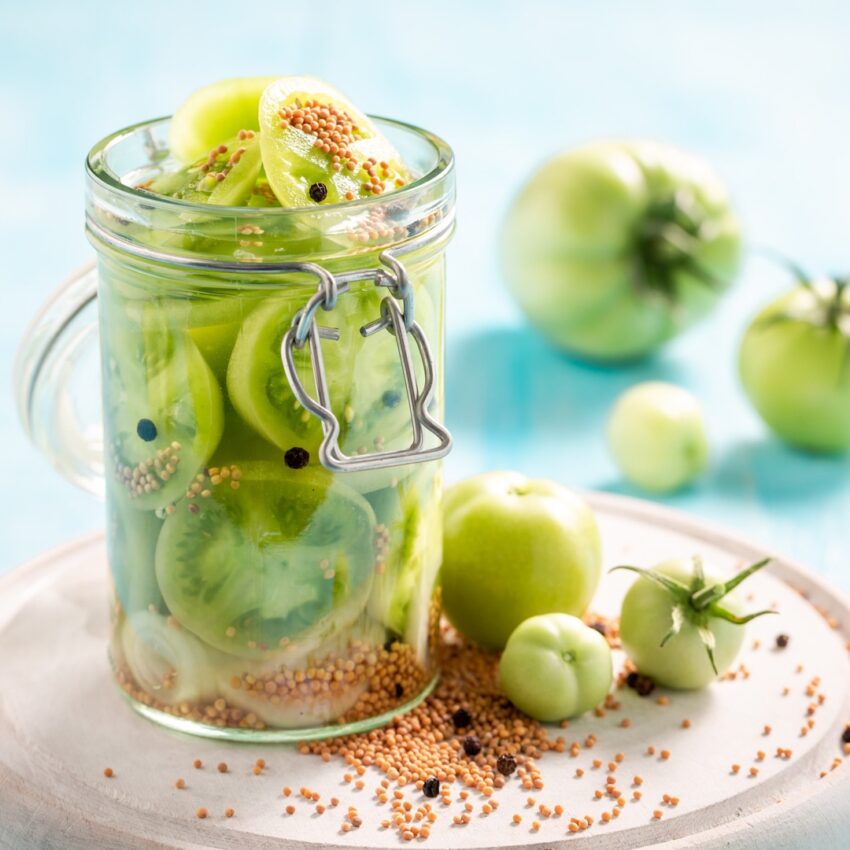
- Pickled Green Tomatoes – perfect for end-of-season tomatoes
- Pickled Beet Eggs
Pickled red onions are a must-have if you’re making Mexican fish tacos.

4. Canning (Water Bath and Pressure)
Canning creates shelf-stable preserved foods that last for a year or more without refrigeration. The process involves sealing food in jars and processing in boiling water (water bath canning) or under pressure (pressure canning) to kill bacteria and create an airtight seal.
Important: Always follow tested recipes from reputable sources (Ball, USDA, extension services) for canning. Incorrect canning can cause serious foodborne illness.
Water bath canning works for high-acid foods: fruits, jams, jellies, pickles, and tomatoes with added acid. Pressure canning is required for low-acid foods: vegetables, meats, and soups.
You will need some specific equipment like sealable jars and canning pots,
Best for: Jams, jellies, fruit preserves, tomato sauce, pickles, salsa
How long it lasts: 12-18 months in a cool, dark place
Recipes to try:
- Preserved Cherries – beautiful for gifts
- Ajvar red pepper spread
- Blueberry bourbon BBQ sauce
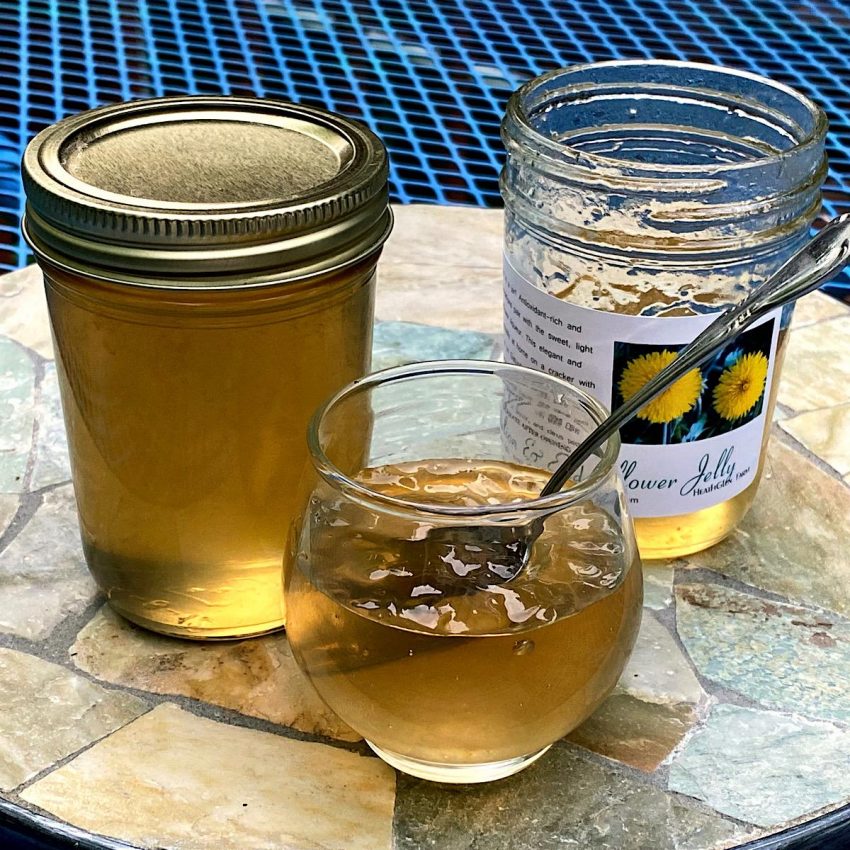
- Homemade dandelion jelly
5. Preserving in salt
Salt draws moisture from food, creating an environment hostile to bacteria. It’s one of the oldest preservation methods, used long before refrigeration existed.
Salt preservation works well for lemons (classic in North African cooking), peppers, herbs, and some vegetables. The process is simple: layer food with salt in clean jars, ensuring salt contacts all surfaces. Store in a cool place.
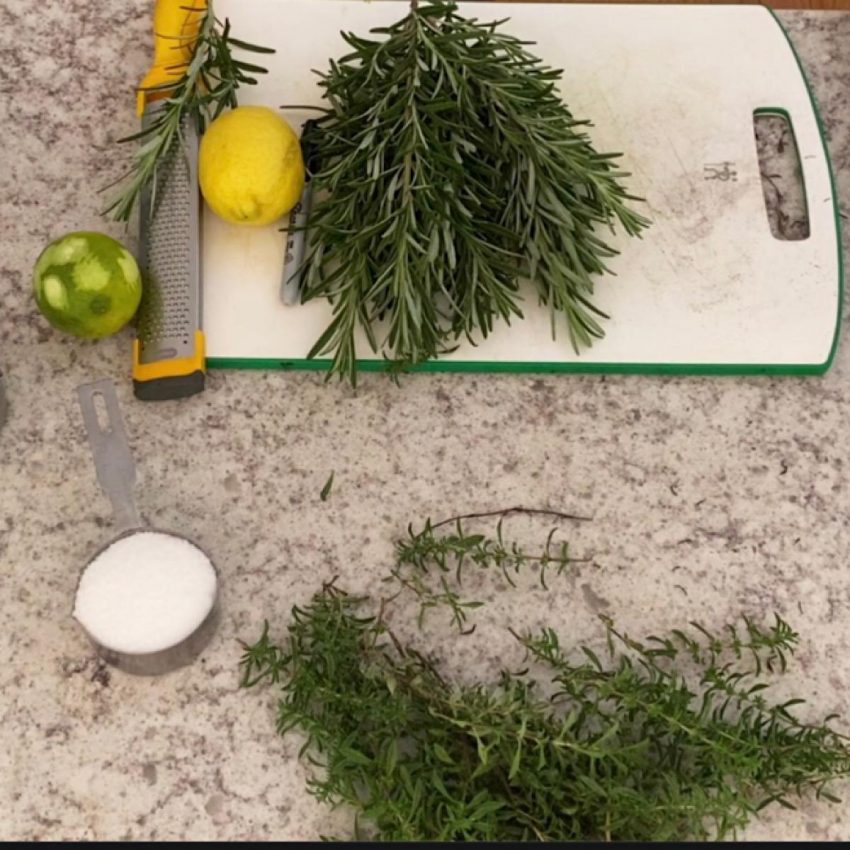
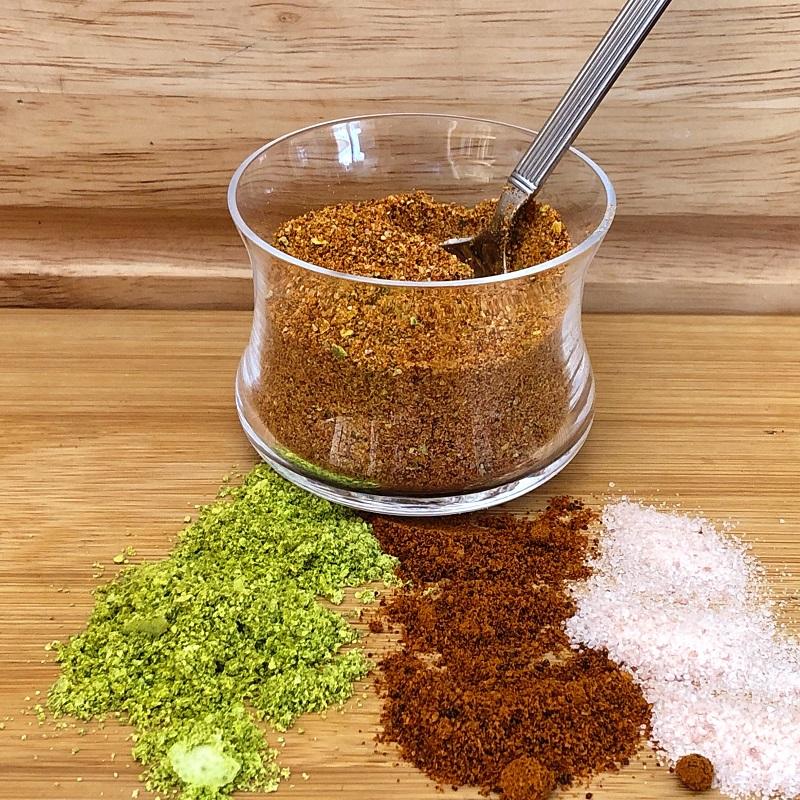
Herbal salts combine preservation with seasoning. Blend fresh herbs with coarse salt, spread to dry, then store in jars. You preserve the herbs and create a custom seasoning at the same time.
Best for: Lemons, hot peppers, herbs, garlic
How long it lasts: Several months to a year
Recipes to try:
6. Root Cellar Storage
Some produce stores for months without any processing at all. Root vegetables, winter squash, apples, and pears evolved to last through winter if kept in the right conditions: cool temperatures (32-40°F), high humidity, and good air circulation.
A traditional root cellar provides these conditions, but a cool basement, unheated garage, or even a buried cooler can work. The key is consistent cool temperatures without freezing.
This is the lowest-effort preservation method if you have appropriate space and are storing the right crops.
Best for: Potatoes, onions, garlic, carrots, parsnips, turnips, beets, winter squash, apples, pears
How long it lasts: 2-6 months depending on the crop and conditions
Some “regular” basements can be used as a root cellar, especially in older homes. Unfortunately, modern and well-isolated ones don’t work quite as well for this purpose.
If you’re really into homesteading or prepping and own a bit of land, you could actually consider digging your own root cellar. The space will also work well to store your canned goods, ensuring they keep even longer due to the low temps and don’t clutter the rest of your home.
I use my unheated shop for storing winter squash, but it gets very cold in Minnesota winters so I have to monitor it and sometimes turn on a space heater so they don’t freeze.
Here are some of the varieties of heirloom winter squash that I store over winter.
7. Shrub Syrups
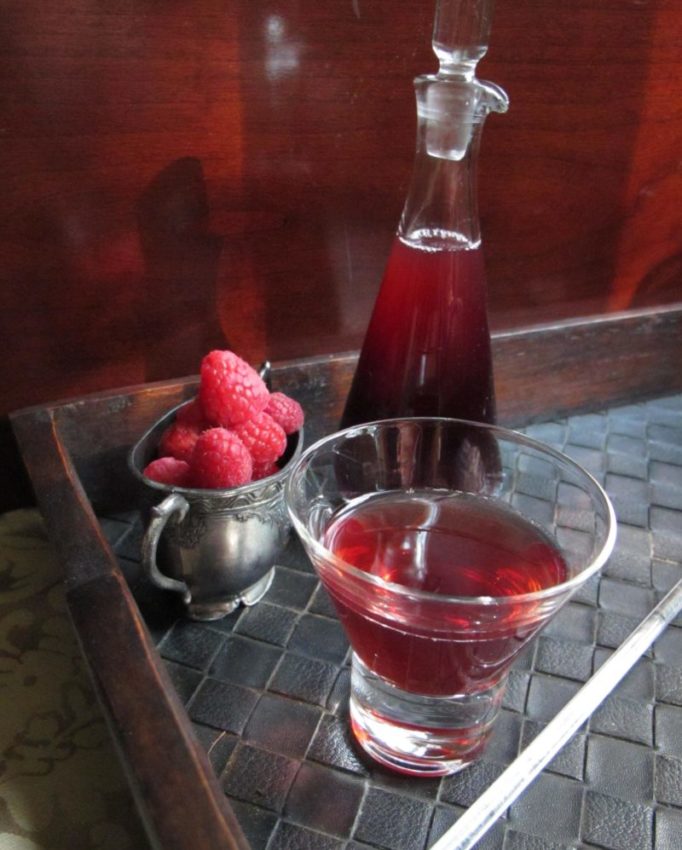
Shrubs are fruit-based drinking vinegars that combine preservation with mixology. The combination of sugar and vinegar preserves fresh fruit for up to a year in the refrigerator while creating a tangy, complex syrup for cocktails, mocktails, and sodas.
The basic method: macerate fruit with sugar, strain, add apple cider vinegar. Adjust sweetness and acidity to taste. Add herbs, flowers, or spices for complexity.
This is one of my favorite ways to preserve small quantities of berries or stone fruit that aren’t quite enough for jam but too good to waste.
Best for: Berries, stone fruits, citrus, rhubarb
How long it lasts: Up to 1 year refrigerated
Recipes to try:
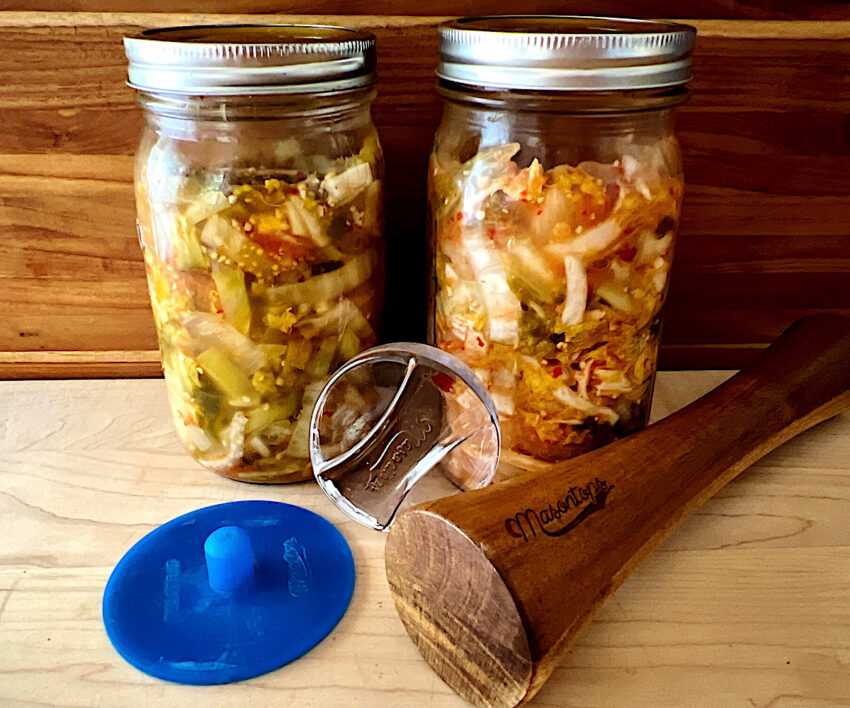
8. Fermenting
Fermentation uses beneficial bacteria to preserve food while developing complex, tangy flavors. The same process that creates sauerkraut, kimchi, and many hot sauces can preserve your harvest.
Lacto-fermentation (the most common method for vegetables) requires only salt, water, and time. Vegetables are submerged in salted water and left at room temperature for days to weeks while lactobacillus bacteria convert sugars to lactic acid.
The result is probiotic-rich, deeply flavored preserved vegetables. Fermented foods should taste tangy and pleasantly sour, not rotten.
Best for: Cabbage, cucumbers, peppers, green tomatoes, carrots, radishes
How long it lasts: Several months refrigerated after fermentation
Recipes to try:
- Green Tomato Kimchi – perfect for end-of-season tomatoes
- Fermented Hot Sauce (Salsa Macha)
My husband got this fermenting kit for Christmas and it’s a great way to get started if you’re a beginner.
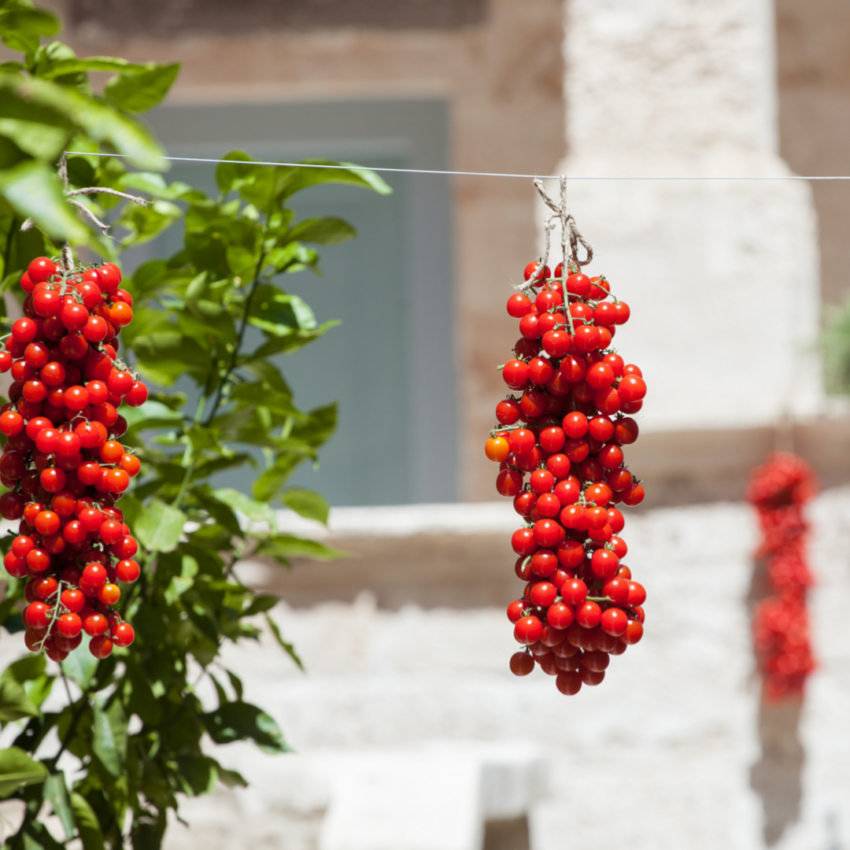
9. Air Drying (Ristras)
Some produce can be preserved simply by hanging in a well-ventilated space. This traditional method, often used in the American Southwest and Mediterranean, creates ristras: decorative strings of drying produce.
Chile peppers are the classic ristra candidate. Thread a needle with heavy string through pepper stems, hang in a sunny spot outdoors until dry, then bring indoors. Dried peppers last for months and make beautiful kitchen decor.
Garlic and onions are traditionally braided and hung. Herbs dry well in bundles hung upside down. Certain tomato varieties (like Piennolo) are bred specifically for hanging storage.
Best for: Chile peppers, garlic, onions, herbs, hanging tomato varieties
How long it lasts: 2-6 months depending on conditions
Recipes to try:
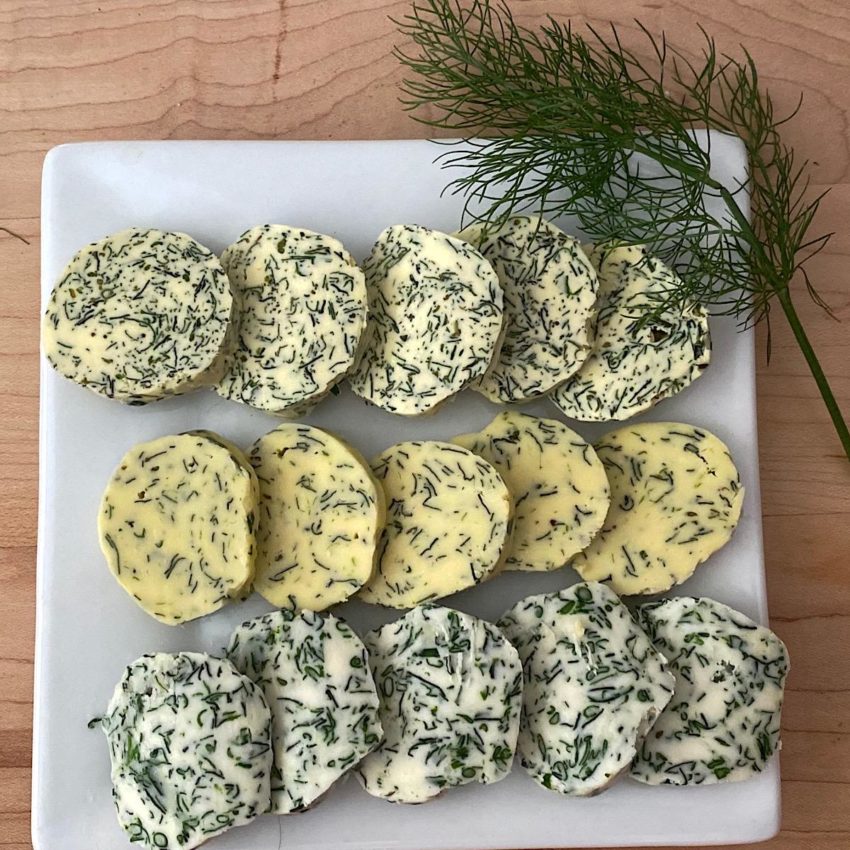
10. Compound Butters
Compound butters preserve fresh herbs in a form that’s ready to use straight from the freezer. The butter protects the herbs from freezer burn while keeping their flavor bright.
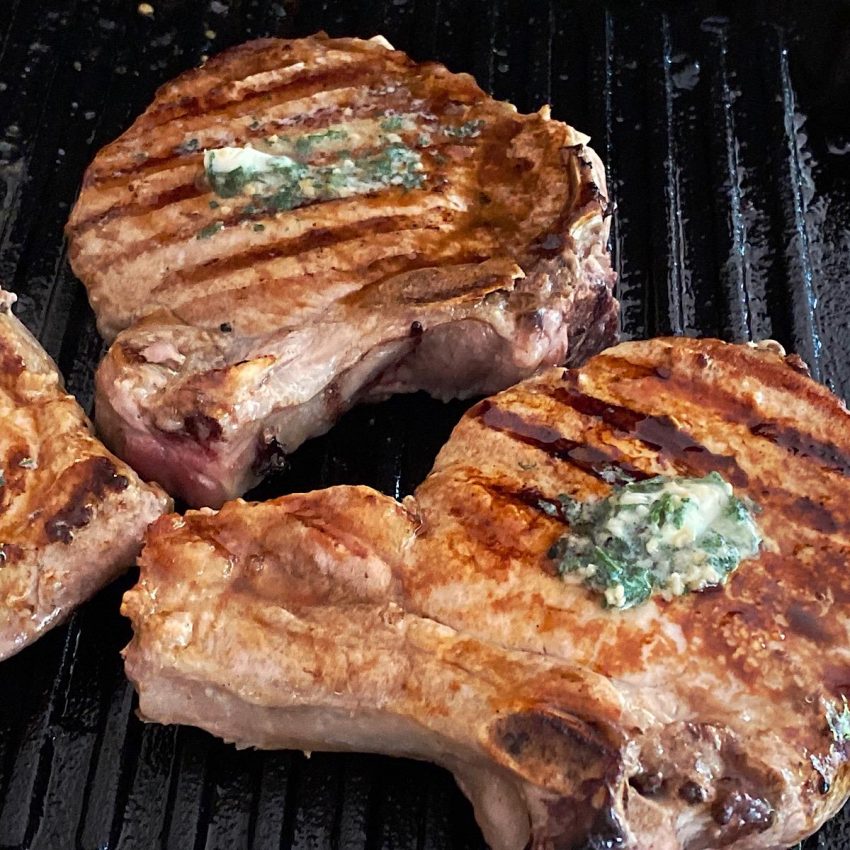
The method is simple: chop fresh herbs, mix with softened butter, roll into a log, wrap in wax paper, and freeze. Slice off “coins” as needed to melt over steak, fish, vegetables, or bread.
This is my favorite way to preserve the herb garden at the end of the season. Sage butter for Thanksgiving. Rosemary butter for lamb. Cilantro-lime butter for Mexican dishes.
Best for: Parsley, sage, rosemary, thyme, tarragon, cilantro, chives, dill
How long it lasts: 4-6 months frozen
Recipes to try:
Choosing the Right Method
Different methods suit different produce and situations:
- For speed and simplicity: Freezing, quick pickling, compound butters
- For shelf-stable storage without refrigeration: Canning, dehydrating, salt preservation
- For flavor development: Fermenting, smoking then dehydrating, shrub syrups
- For zero processing: Root cellar storage, air drying
- For small quantities: Shrub syrups, compound butters, quick pickles
- For large harvests: Freezing, canning, dehydrating
Consider how you’ll use the preserved food. Frozen tomato sauce is convenient for weeknight dinners. Canned salsa makes great gifts. Dehydrated tomatoes work in recipes year-round. Choose the method that matches both the harvest and your intended use.
FAQ
Freezing. It requires no special equipment, works for most produce, and has little risk of food safety issues. Flash freeze on baking sheets, transfer to freezer bags, and label with contents and date.
Freezing preserves nutrients best because there’s no heat processing. Dehydrating retains most nutrients but concentrates them. Canning involves heat that reduces some vitamins but the food remains nutritious.
Trust your senses. Off odors, mold, sliminess, or unusual colors indicate spoilage. For canned goods, reject any jars with broken seals, bulging lids, or spurting liquid when opened. When in doubt, throw it out.
Yes. Smoking then dehydrating creates chipotles and smoked tomato powder. Blanching before freezing preserves color and texture. Fermenting then refrigerating extends fermented food’s life.
For freezing: baking sheets, parchment paper, freezer bags. For quick pickles: clean jars, basic spices. For dehydrating: a food dehydrator (optional but helpful). For canning: canning pot, jar lifter, tested recipes. Start with freezing and quick pickles, then expand as you gain confidence.
Focus on shelf-stable methods: canning, dehydrating, salt preservation, shrub syrups. Dehydrated produce takes up very little space. A jar of shrub syrup preserves several pounds of fruit in minimal volume.
Check out this preserving category for more guides on drying, pickling and preserving fresh fruits and vegetables.
Leave a comment