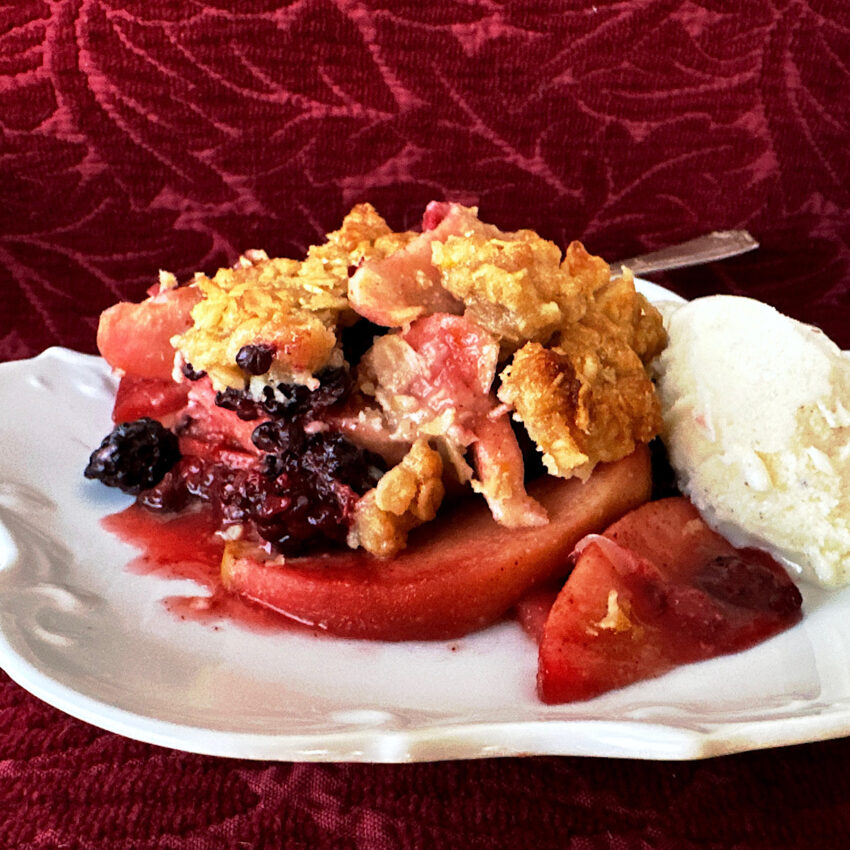
Growing up in Oregon, blackberries were abundant and this was my favorite thing to make with them. Blackberries were tricky to grow In Minnesota so I avoided them for a long time. Happy to say I now have a thriving blackberry patch. Whether it is the variety (Black Satin) or climate change, I can’t say, but I am thrilled that I have my very own blackberry patch again.
This is the ultimate Fall dessert, and it just happens to be easy to make and healthy at the same time!
Jump to: RECIPE | Crisp vs Crumble | The Crisp Topping | The Fruit Filling | 3-Step Process | Storing & Reheating
This post may contain affiliate links, and you can read our disclosure information here–
Crumbles vs Crisps
In many regions a crumble is synonymous with a crisp. But like most things in life there are nuanced opinions on the difference. Generally speaking, a crumble and a crisp both refer to a baked fruit dessert with a layer of topping (sometimes referred to as a streusel crumb topping).
Both the crumble and crisp topping are made with a combination of butter, flour and sugar, but the crumble topping is known for including oats or nuts.
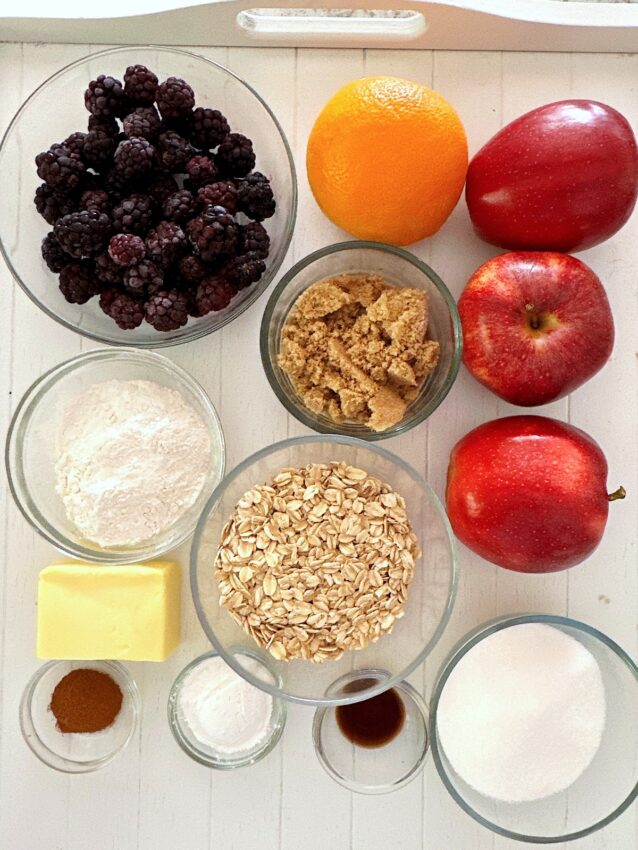
Substitutions or additions to the oat crisp or crumble topping might include chopped nuts, raisins or granola.
I’ve seen one recipe that included crushed shortbread cookies, which sounded like an addition to try someday.
Tips for the Best Crisp/Crumble Topping
Tip #1: Use the Right Amount of Butter
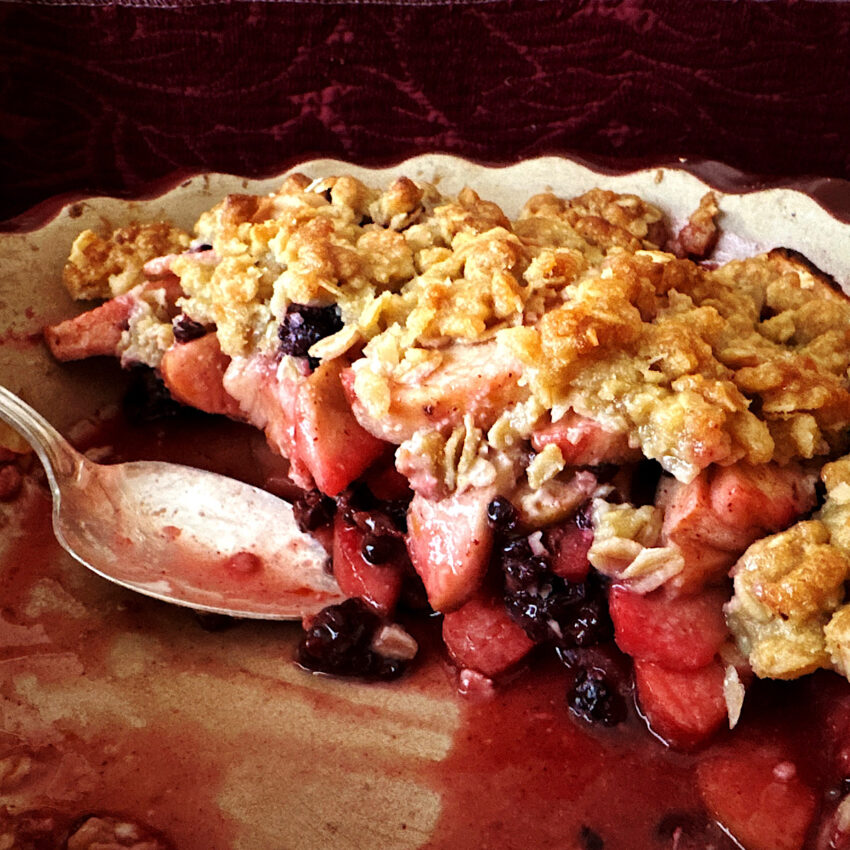
Butter is the most important ingredient to get right. If there is not enough butter the topping will be too dry and floury tasting. Too much butter will turn the topping soggy.
In addition to giving the topping a good texture, butter helps the browning process and ensures a “crispy” topping. It really is the magic ingredient in a crumble topping.
Most recipes call for the butter to be cold before it is added, and then call for it to be incorporated into a ”pea-sized” crumble.
I do struggle with this pea-size idea. I’ve tried using a grater to add the butter, using a pastry cutter, or just cutting it in with a small paring knife. In the end I use my hands to get it thoroughly mixed in and it works.
If you end up with a topping that you feel is too dry, add a little more butter a little at a time. If you think it is too wet, add a little more flour. The amount of butter and flour in the recipe below was absolutely perfect for me, but cooks’ preferences do vary.
Tip #2: Add Texture to the Crumble
If the flour/sugar/butter/oat topping is not crunchy enough for you, consider adding some chopped nuts, seeds, or even granola. Just don’t use instant oats or steel cut oats or the texture will be off-putting.
Tips for the Best Filling
Tip #1: Prevent Sogginess with the Right Apples
The choice of apple you use in the crisp can affect how watery it may turn out. Most cooks will use at least some granny smith apples because they are high in pectin and can cook for a long time without releasing their juices.
Sweeter apples, like MacIntosh and Red Delicious apples can make your filling more watery. They have more fructose in them as well, and a slightly lower pectin content too.
Granny Smith apples are high in pectin and low in fructose, which is why so many people use them in pies. They can cook for a long time and not get watery because of the lower sugar.
I like to use a combination of apples, using the granny smith to offer some firmness and a few sweeter apples to break down slightly to provide the sauciness.
There are many apples that are a nice in between choice. Honeycrisp apples also hold their shape but are sweeter than the Granny Smith.
The Cortland apple is another favorite that holds up well in the oven but is sweeter than the Granny Smith.
Tip #2: Use a Thickener: Flour or Cornstarch
Make sure you use a thickener like flour or corn starch to avoid a runny, watery filling. My preference is cornstarch but just follow whichever recipe you are using if you prefer flour.
One option with any fruit that tends to leak water, is to add a dusting of flour to the fruit after everything else has been mixed. The flour will cook in the oven and combined with the pectin, should be enough thickener to keep the crisp from being too watery.
Tip #3: Peel the Apples
This is not absolutely necessary but you will end up with a much silkier texture if the apples are peeled.
Because the blackberries have seeds and the topping is quite crunchy you don’t really want additional crunch from the apple peelings.
Some people find the peels a bit stringy also and don’t like how it will catch in their teeth.
Tip #4: Slice Apples Thinly
For a softer texture in apple crisp, slice the apples thinly. If you prefer a chunkier texture, cube the apples instead of slicing them.
Tip #5: Choose the Right Size of Baking Dish
If you’re anything like me you will want a bite of the crumble topping with each bite of fruit filling. If you use a dish that is too deep, you will get a lot of stewed fruit with a thin layer of crust on top.
A 9” x 9” baking dish is usually called for, as it is in the recipe below.
Tip #6: Let it cool before slicing
There is nothing better than a warm fruit crisp with a dollop of cold ice cream melting into the fruit. If you slice it too soon however, it is likely to be pretty runny. If it is too runny for your preference, then just let it cool more or put it in the refrigerator for a while. This will often help.
3 Steps for Making a Crumble
Here are the steps lined out with photos. For the details of the recipe itself, see the recipe card below.
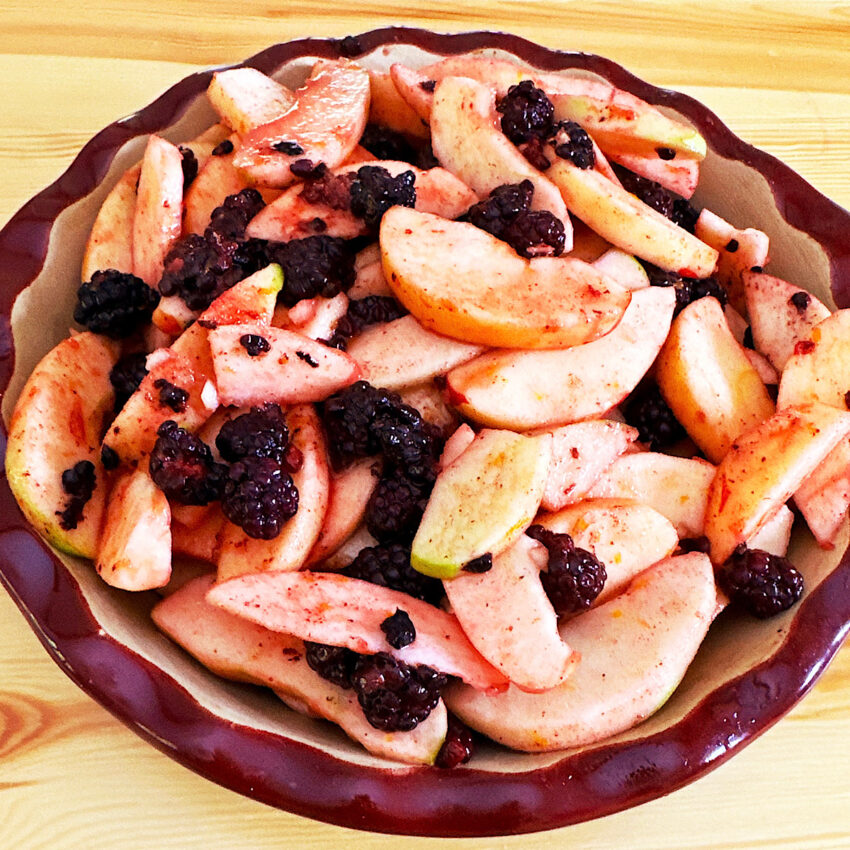
Step 1: Mix all filling ingredients together and set aside to rest
Step 2: Mix together topping ingredients
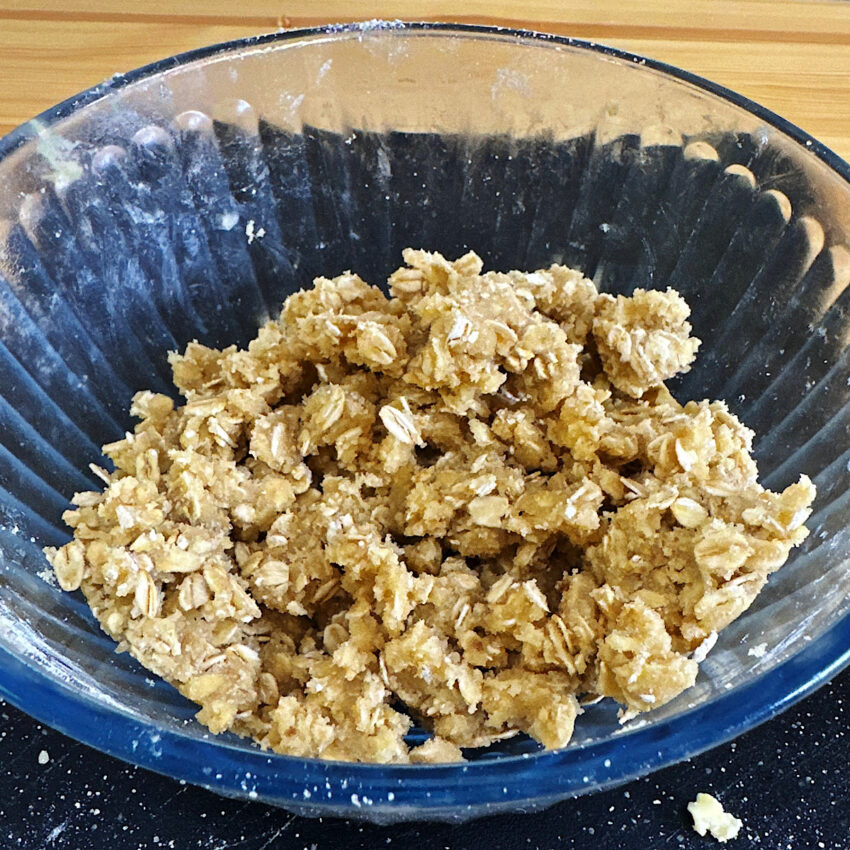
Step 3: Crumble the topping over the filling and bake at 350 F for 35 – 40 minutes
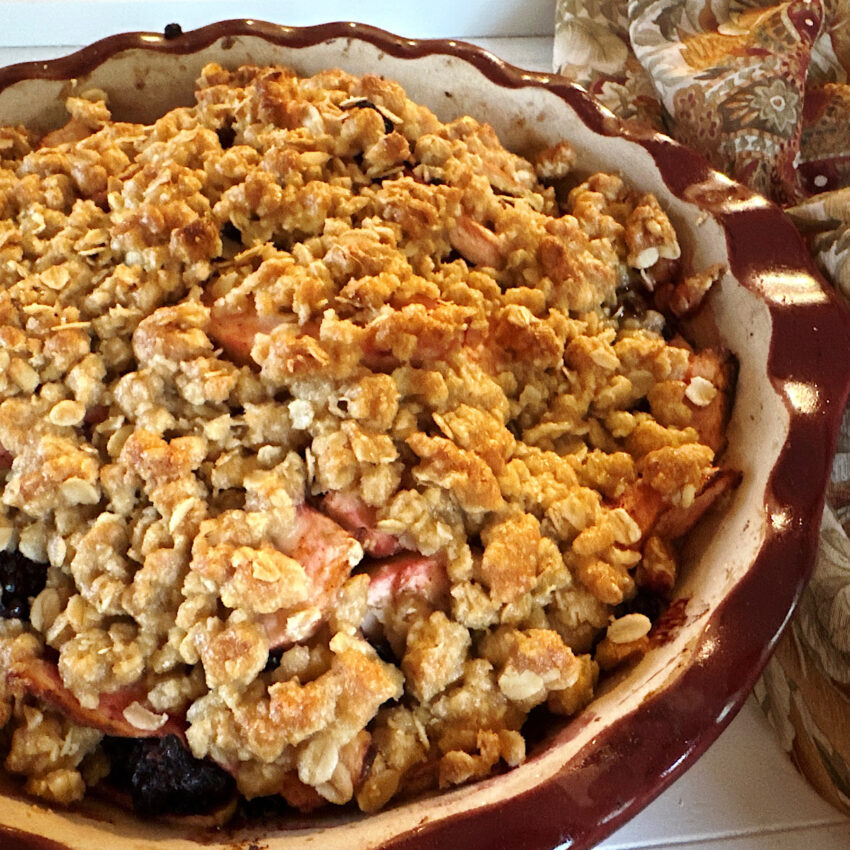
How to Store and Reheat Your Crumble
Store the fruit crumble in the refrigerator covered with plastic wrap for up to five days. To reheat, use the oven instead of the microwave to ensure even warming. Bake at 350˚F until heated through.
If you want to make the crumble topping ahead of time, you can store in a sealed plastic bag in the fridge for up to 24 hours. Alternatively you can freeze it for up to three months.
How to Serve Blackberry Crisp
Of course there are many preferred ways to serve a fruit crumble or crisp. If I’m watching my diet, I’ll just serve it without a topping and be perfectly happy letting the fruit shine through.
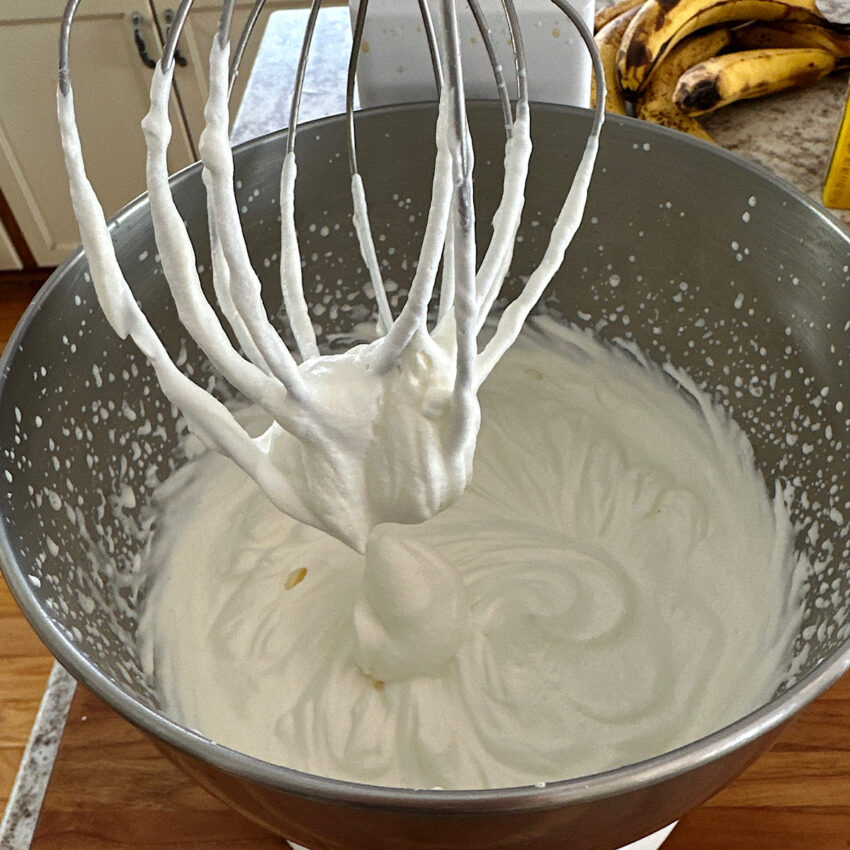
Serving it warm with a scoop of vanilla ice cream can’t be beat. If you are more concerned about sugar than fat, then opt for a silky topping of vanilla infused whipped cream with soft peaks.
Other Favorite Ways to Use Blackberries
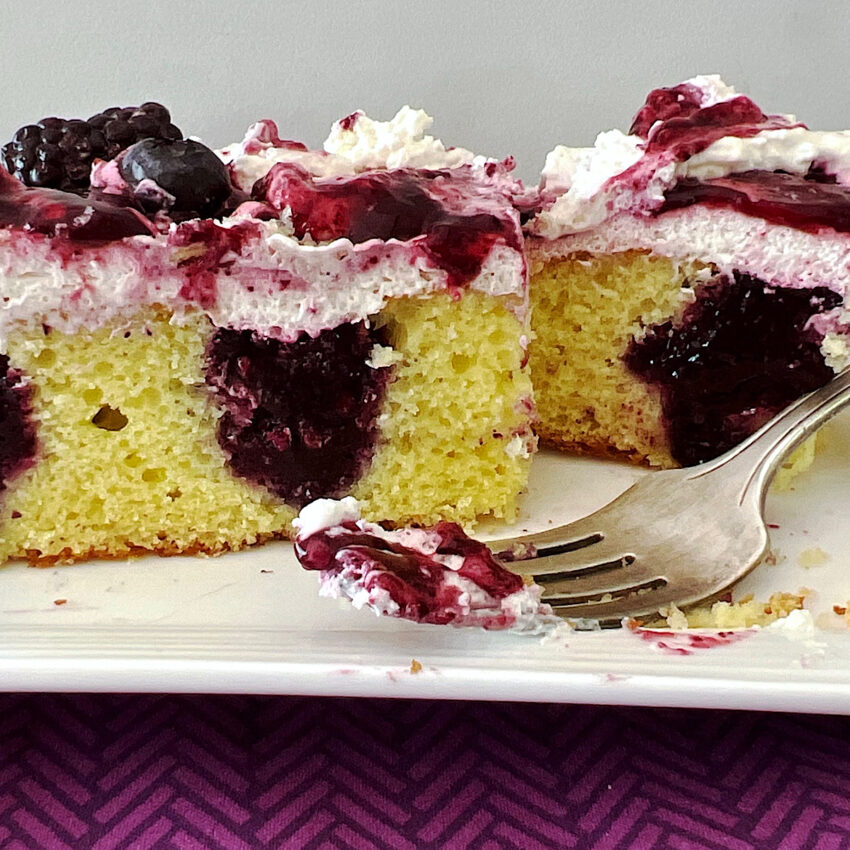
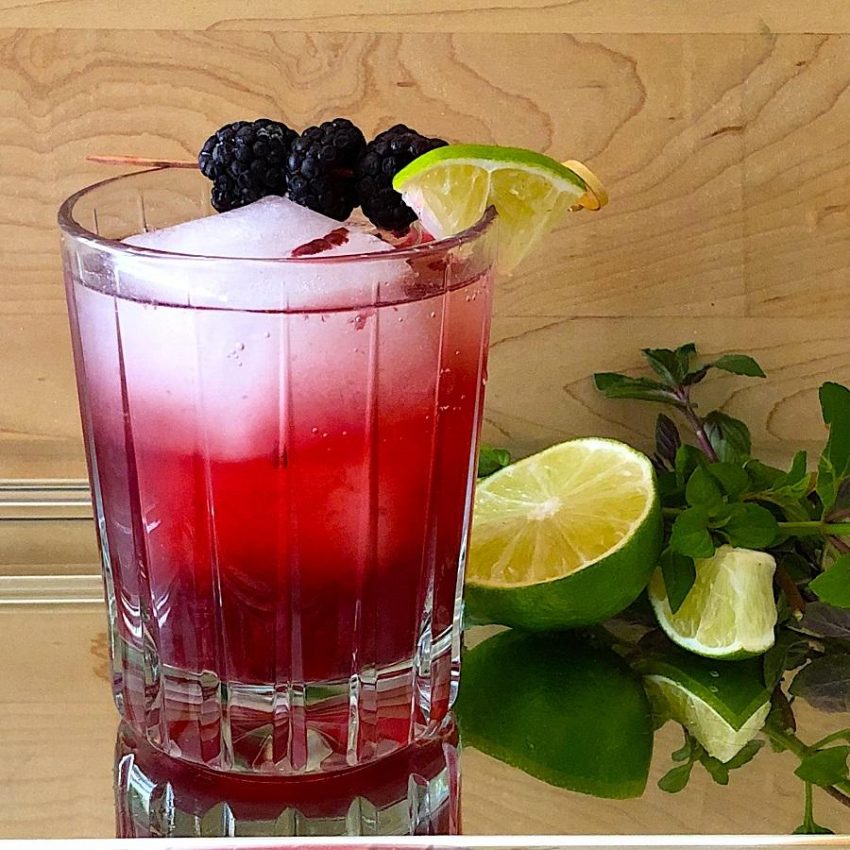
Growing up in the West Coast, blackberries were a weed on our small farm. Now that I’m in Minnesota, I miss those weeds terribly! Here are a couple other of my favorite ways to use blackberries:
Frequently Asked Questions
Rolled oats produce a chewier topping than quick oats but the flavor is almost identical. Avoid instant oats because they will essentially disintegrate when baked and avoid steel cut oats as they give off a raw oat taste rather than the crunchy sweet taste.
It comes down to butter. With too little butter your topping will be dry and floury. With too much butter and your topping will become watery and somewhat greasy.
Like this recipe? It helps me out greatly if you leave a 5-star 🌟🌟🌟🌟🌟rating in the recipe card below and maybe even leave me a quick comment too!
Apple Blackberry Crisp
Equipment
- baking dish 9” x 9”
- 2 bowls
Ingredients
Apple Blackberry Filling
- 2 pounds apples (about 5-6); not really sweet apples
- 1 cup blackberries if frozen, let them thaw first
- 1 tablespoon orange juice fresh
- zest of one orange
- 1 tablespoon cornstarch
- 2 tablespoons granulated sugar
- ½ teaspoon ground cinnamon
- ¼ teaspoon vanilla
- ½ teaspoon kosher salt
Crumble Topping
- ⅓ cup all purpose flour
- ⅓ cup brown sugar packed
- ⅓ cup white granulated sugar
- ⅔ cups rolled oats not instant or steel cut
- ½ teaspoon kosher salt
- 6 tablespoons butter cold
Instructions
- Preheat oven to 375 F.
- In a bowl, mix together all of the filling ingredients and set aside.2 pounds apples, 1 cup blackberries, 1 tablespoon orange juice, zest of one orange, 1 tablespoon cornstarch, 2 tablespoons granulated sugar, 1/2 teaspoon ground cinnamon, 1/4 teaspoon vanilla, 1/2 teaspoon kosher salt
- Stir together all topping ingredients except for the butter1/3 cup all purpose flour, 1/3 cup brown sugar, 1/3 cup white granulated sugar, 2/3 cups rolled oats
- Cut cold butter into small pieces and mix in to the oat topping. You can use a fork or a pastry cutter, but I use my hands. You want to get it thoroughly mixed in, ideally to form pea-sized pieces.6 tablespoons butter
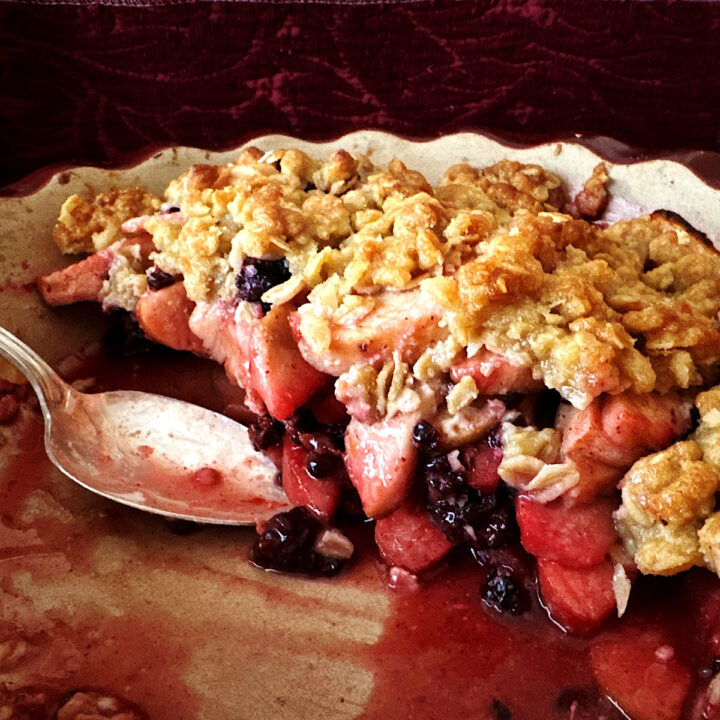
- Place filling in baking dish and crumble the topping over it until the filling is covered. Bake for 30-40 minutes until topping is golden brown and apples are fork-soft

Can mulberries and apples work in this recipe
I would think you could sub in mulberries for blackberries in terms of cooking method. In terms of taste I think mulberries are more tart so I would add more sugar. That’s a guess however, as I’m not really familiar with mulberries.