
This guide covers four drying methods, proper storage, and a refreshing iced chamomile tea recipe to try with your harvest.
Quick Summary: Drying your own herbs is simple and gives you a year-round tea supply. This guide covers four methods: air drying, dehydrator, oven, and microwave, plus how to store dried herbs and a iced chamomile tea recipe. Prep: varies by method | Storage life: up to 1 year
At HeathGlen Organic Farm, I grow and dry herbs specifically for the tea blends I sell at the St. Paul Farmers’ Market. Drying your own herbs is one of the easiest ways to build a year-round tea supply, and it works whether you’re harvesting from a backyard garden or buying fresh herbs in bulk.
Jump to: Iced Chamomile Tea Recipe | Tisane vs Herbal Tea | Gathering Herbs | Drying Herbs For Tea | Storing Herbs | FAQ
This post may contain affiliate links. As an Amazon Associate, I also earn from qualifying purchases. You can read our disclosure information here–
What Is a Tisane?
Herbal teas are also known as tisanes. They’re characterized by the fact that they don’t contain any leaves of the actual tea plant, Camellia sinensis, instead being comprised of different herbs and spices. This means they’re caffeine-free with health benefits that vary by herb.
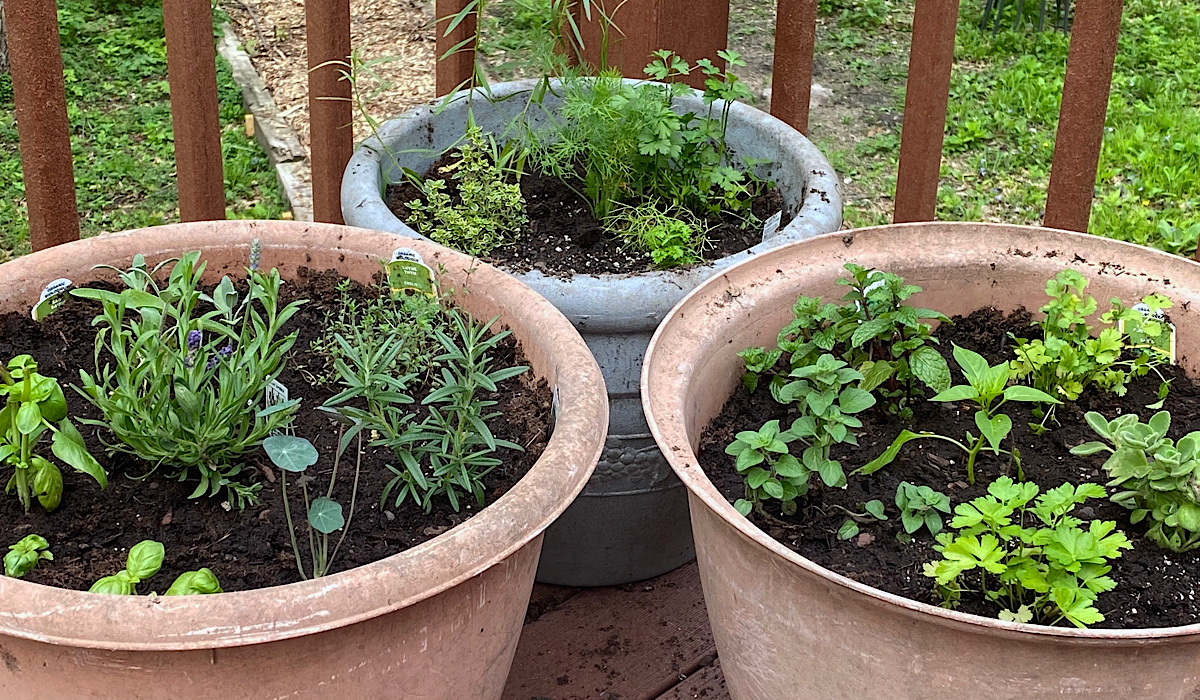
It’s easy to dry and blend your own herbs in order to create tisanes to enjoy year-round or give away (they make great gifts for friends and loved ones!). There’s a range of different herbs you can use, depending on your own tastes and preferences. If you’re interested in growing your own, be sure to have a look at my list of best herbs to grow for homemade herbal tea.
Below, for those with their own herb gardens, let’s first discuss how to harvest them to dry for use in tisanes. Then, we’ll have a look at four different easy methods for drying herbs, which allows you to store them long-term and use whenever suits you.
Did you know? You don’t need a lot of space to grow your own herbs, as many species do well in pots. Find out how to grow your own balcony herb garden if you don’t have a backyard at your disposal!
How to Gather Herbs for Tea
If you’re planning on drying some herbs from your garden to use in homemade herbal tea blends, it’s important to know when and how to do it. Picking them correctly and at the right time can absolutely make a difference in flavor!
Tisane enthusiasts generally agree that the best time to pick herbs for tea is in the late morning. At this point, any dew should have dried, but the sun hasn’t had the chance to evaporate the essential oils in the plants’ leaves yet. They’re at their most fragrant at this point.
To harvest herbs, whether flowers or leaves, you should use a pair of sharp and clean garden shears or scissors to snip off the stems you’re after. Don’t be shy: healthy plants don’t tend to mind a good pruning. Some can be halved without issue – in fact, it usually encourages them to grow back even bushier.
Once you’ve gathered your herbs, you should prepare them for drying immediately for the best results. Brew a cup of fresh tea with a few of the leaves (it would be almost criminal not to!) and let’s get to work.

How To Dry Herbs For Tea: 4 Methods
Although you can use freshly picked herbs to make tea, there’s only so much you can drink before they wither. Drying them makes them last much longer, allowing you to create your own tea blends and store them for months.
Before we have a look at how to dry herbs for tea, inspect the herbs you picked or bought. Discard any sickly leaves or infested stems before gently rinsing and patting your harvest dry with some paper towel.
How to Air Dry Herbs
Although it’s the slowest method of the four we’ll discuss here, air drying herbs for tea is also the most hands-off way to go about it. Plus, I personally love the look and scent of bunches of herbs hung across a room to dry!
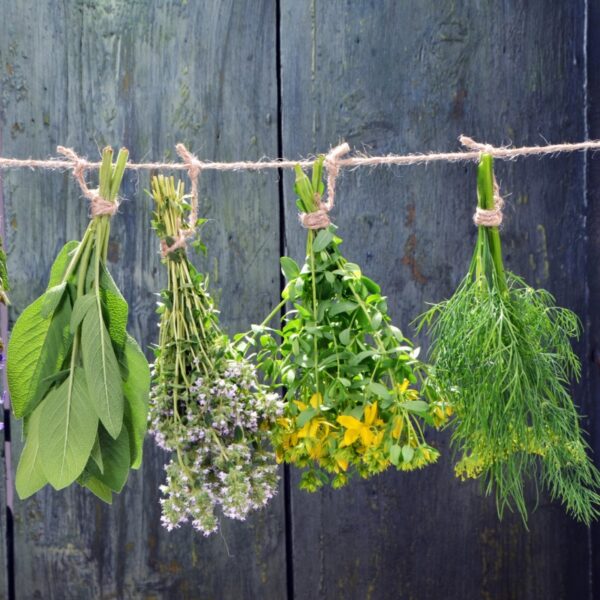
Here’s how you air dry herbs for tea:
- Gather the herbs into small bunches of a few stems each. Tie the stems together using rubber bands.
- Hang some twine in a dry* and dark location, like a basement or shed. Suspend the bunches clothes line-style, far enough apart to allow good airflow.
- Check on the herbs every few days. How long they take to dry depends on factors like temperature and humidity.
- You’ll know your herbs are ready when you can crumble the leaves or flowers between your fingers. Move on to the section on storage to find out how to make sure they last.
*It’s really, really important to keep the herbs dry. In humid climates, the air drying method doesn’t work as well because of the higher risk of mold.
How to Dry Herbs with a Dehydrator
If you regularly make your own tisanes (or dried tomatoes, or veggie chips…) , having a dehydrator makes life so much easier. Rather than having to wait weeks, it allows you to dry your herbs within hours!
No chances of mold or rot taking hold, as you’ll be processing the herbs the same day you picked them, plus it makes your home smell divine.
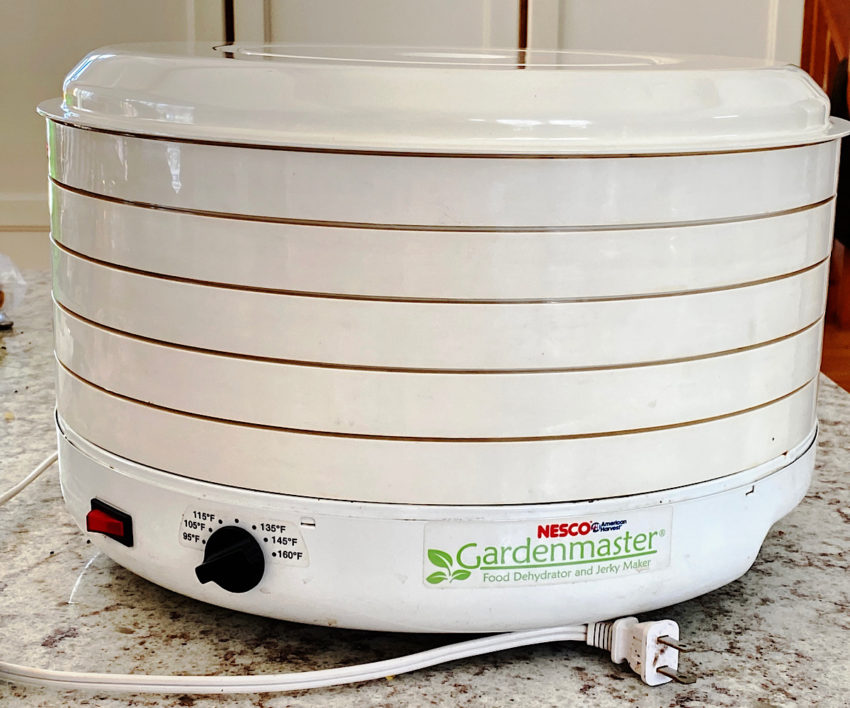
Here’s how you dry herbs for tea with a dehydrator:
- Place the herbs in the dehydrator. They should be in a single layer, leaving space between them to allow for proper airflow.
- Set the dehydrator to around 115 °F (if it allows you to set the temperature).
- Check on the herbs hourly. Drying happens quickly in a dry environment, but it may be up to four hours in humid climates.
- The herbs are ready when you can crumble the leaves of flowers between your fingers. They’re now ready to store!
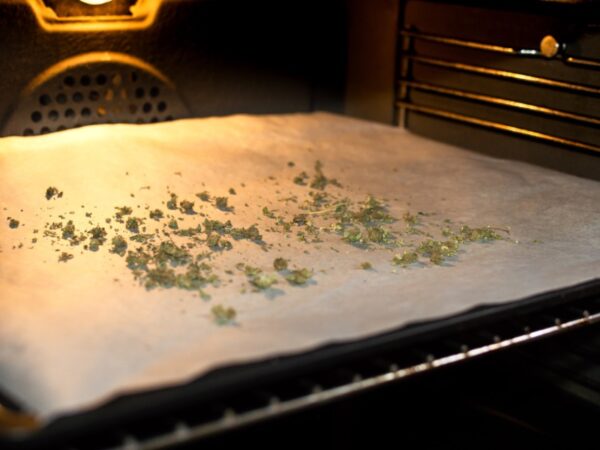
How to Dry Herbs in the Oven
The oven method works well if you want to dry your herbs quickly but don’t own a dehydrator. You don’t need any special equipment, just the oven itself and one or two parchment paper-lined baking sheets.
Here’s how you dry herbs for tea in the oven:
- Preheat the oven to 175 °F.
- In the meantime, lay out the herbs on the baking sheet(s) in a single layer. Don’t overcrowd them!
- Place the sheet(s) in the oven. If your oven tends not to heat evenly, switch the sheets’ positions after 15 minutes. You may also have to turn them around if the back of the oven gets warmer than the front.
- Check the herbs at the 30 minute mark, and every 15 minutes after that.
- Once you can crumble the herbs between your fingers, they’re dry and ready for storage.
How to Dry Herbs in the Microwave
Okay, this one’s a bit iffy in my opinion, but I know some folks do swear by it, saying it’s faster and helps maintain color and flavor.
Drying herbs and flowers in the microwave can work, but you have to be careful to avoid burning them! Setting your herbs on fire is not a great way to start your tea blending adventure, so work in short bursts.
Here’s how you dry herbs for tea in the microwave:
- Place the herbs between two paper towels on a microwave-safe plate.
- Nuke the whole thing for 30 seconds at a time, checking in between to see how the herbs are coming along.
- Continue until the herbs are no longer pliable, but crumble between your fingers.
How to Store Dried Herbs for Tea
Once your herbs are fully dry, they’re ready to use in tisanes. It’s important to store them correctly, though, because if they come into contact with moisture they will mold.
Luckily, preparing tea herbs for storage is easy:
- Separate the leaves from the stems. You can compost the stems or use them in a homemade potpourri.
- Optional: Use the herbal tea blending guide to create your favorite tisane blends.
- Optional: Place the herbs in tea baggies so all you’ll have to do when you want a cup of tea is reach out and grab one.
- Place the herbs in airtight jars, making sure to label them so you don’t forget which is which.
- Set the jars in a cool and dark place, like a cupboard.
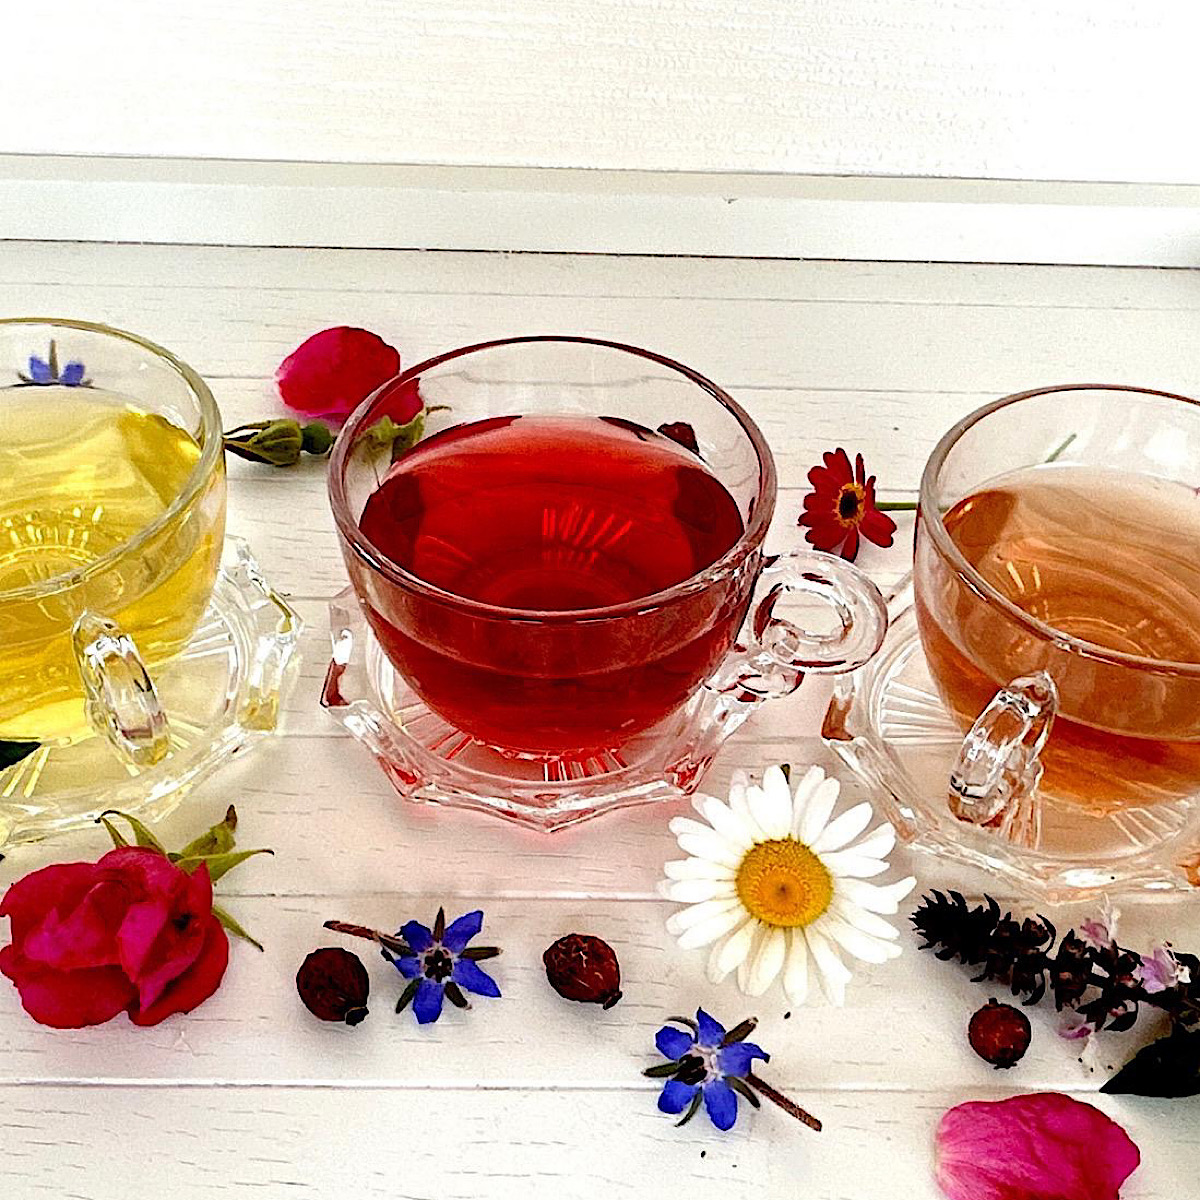
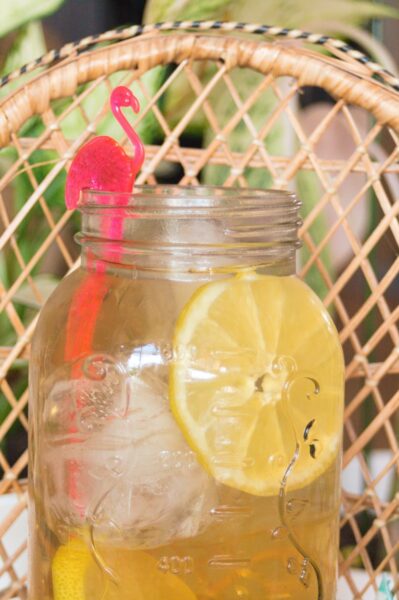
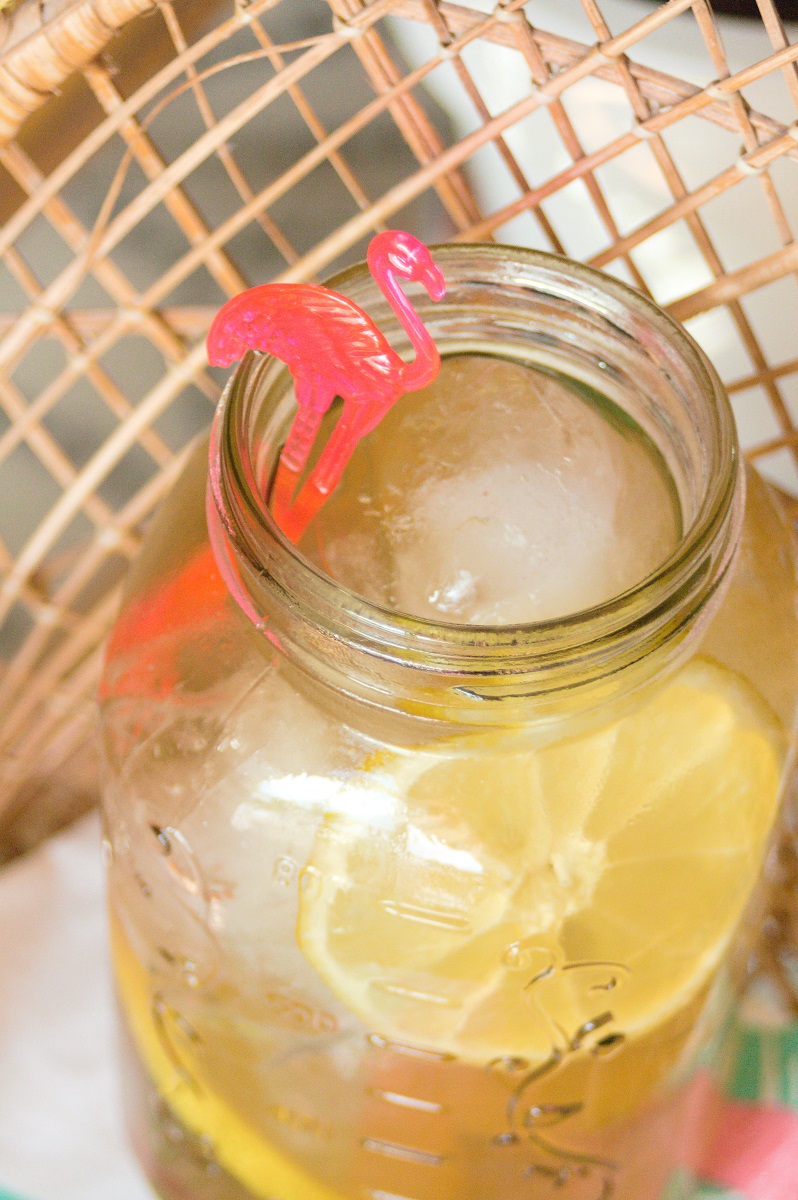
How to Make Iced Chamomile Tea
Did you know that your dried herbs aren’t just perfect for use in hot tea? If it’s a bit too toasty for a classic cuppa, try this soft and refreshing iced chamomile tea instead!
Full results are in the recipe card below. In short, pour 6 cups of boiling water over 5 tablespoons of dried chamomile flowers and let it steep for 5 minutes. Remove chamomile flowers, let it cool and add sugar and lemon to taste.
FAQ
Air drying and dehydrating at low temperatures preserve the most flavor and essential oils. The oven and microwave work faster but can diminish delicate flavors if the temperature gets too high. For herbs like chamomile and lavender where fragrance matters, air drying or a dehydrator set to 115°F gives the best results.
Properly dried herbs crumble easily between your fingers. If the leaves bend or feel pliable, they need more time. Stems should snap, not bend. Herbs that aren’t fully dry will mold in storage.
Yes. Fresh herbs from the grocery store dry the same way as garden-grown herbs. Just inspect them carefully and discard any wilted or damaged leaves before drying. They may not be organically grown however.
Mint, chamomile, and lemon balm are forgiving and dry well with any method. They’re also easy to grow and make pleasant-tasting teas on their own or blended.
Iced chamomile tea keeps for 3 to 4 days in the refrigerator. Store it in a covered pitcher and add fresh lemon slices just before serving.
Stored in airtight glass jars in a cool, dark place, dried herbs stay flavorful for up to a year. After that, flavor fades but the herbs remain safe. Add fresh ginger or lemon to revive older blends.
Absolutely. Because it doesn’t contain caffeine, herbal tea is just as hydrating as water.
If you want to explore the world of teas and tisanes, check out this Complete Guide to Teas. It includes information on how to grow a tea garden, types of tea, brewing times and temp., recipes for blends, caffeine amounts, and much more.

Iced Chamomile Tea
Equipment
- 1 Large pitcher heat-proof
- 1 teapot
- 1 tea ball if using loose tea
Ingredients
- 5 tbsp dried chamomile flowers or 10 tea bags
- 6 cups water
- 2 tbsp sugar see notes
- 1 lemon sliced
- ice
Instructions
- Boil the water in a kettle or on the stove.6 cups water
- Place the dried flowers in the tea ball and hang it in the teapot, or place the baggies in the teapot if using those.5 tbsp dried chamomile flowers
- Pour the hot water over the chamomile and let steep for 5 minutes. Remove the chamomile and let the tea cool a little, around 15 minutes.
- Transfer to the glass pitcher, add sugar and stir. Let the tea cool completely before serving.2 tbsp sugar
- Add lemon slices and serve your iced chamomile tea over as much ice as you prefer.1 lemon, ice
Leave a comment