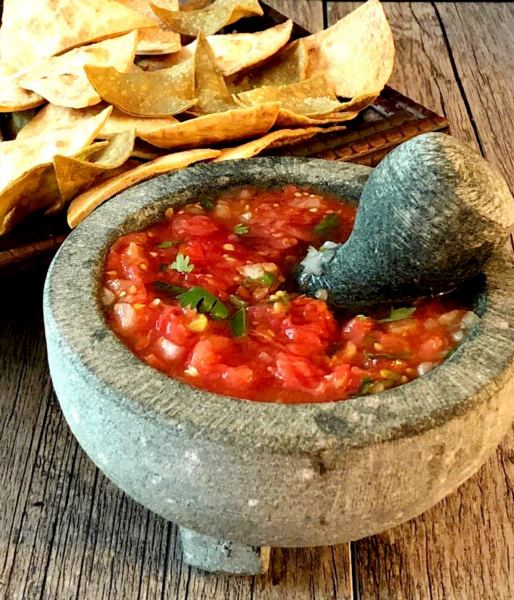
Home-grown beats store-bought every time, and that goes for salsa as well! If you’re short on space but would still like to be able to dip your tortilla chips in a homemade salsa made from veggies grown on your own balcony or deck, why not whip up a little salsa container garden?
Here’s how to grow one in 5 easy steps, with a recipe for homemade salsa as a bonus!
Jump to: RECIPE | Steps to Growing the Salsa Garden | Maintaining the Container Garden
This post may contain affiliate links. As an Amazon Associate, I also earn from qualifying purchases. You can read our disclosure information here–
A Simple Salsa Container Garden for your Balcony, Deck or Patio
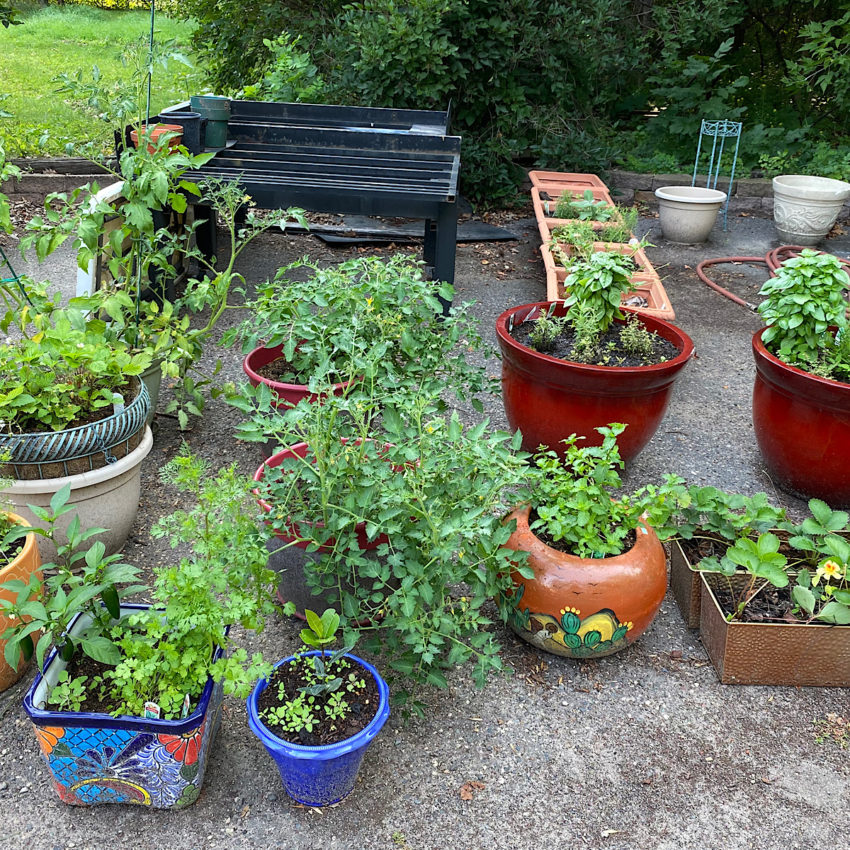
Luckily, salsa doesn’t actually contain that many different ingredients, so a basic salsa container garden can be pretty simple. The following steps will get you on track for a delicious salsa roja or salsa fresca:
Step 1: Gather Equipment and Plants
- 1 tomato plant
- 1 chili pepper plant (jalapenos are the classic)
- 2 cilantro plants
- 5 onions
- Two 24″ planters
- 2 stakes, trellises or tomato cages
- 1 bulb organic garlic (optional)
- Your favorite potting soil (I like Miracle Grow Moisture Control)
Step 2: Choose your veggies
The tomatoes and peppers you choose to grow are the key considerations. Tomatoes are the star ingredient in most salsas and chile peppers are a matter of preference.
The most popular chile pepper for salsas is a jalapeno, but you can increase or decrease the heat level with other varieties.
My favorite tomatoes for salsa are the red, high-acid tomatoes as I find them robust enough to balance the peppers and other strong flavors.
Here are my four top picks for salsa, followed by other heirloom tomatoes with different flavor profiles:
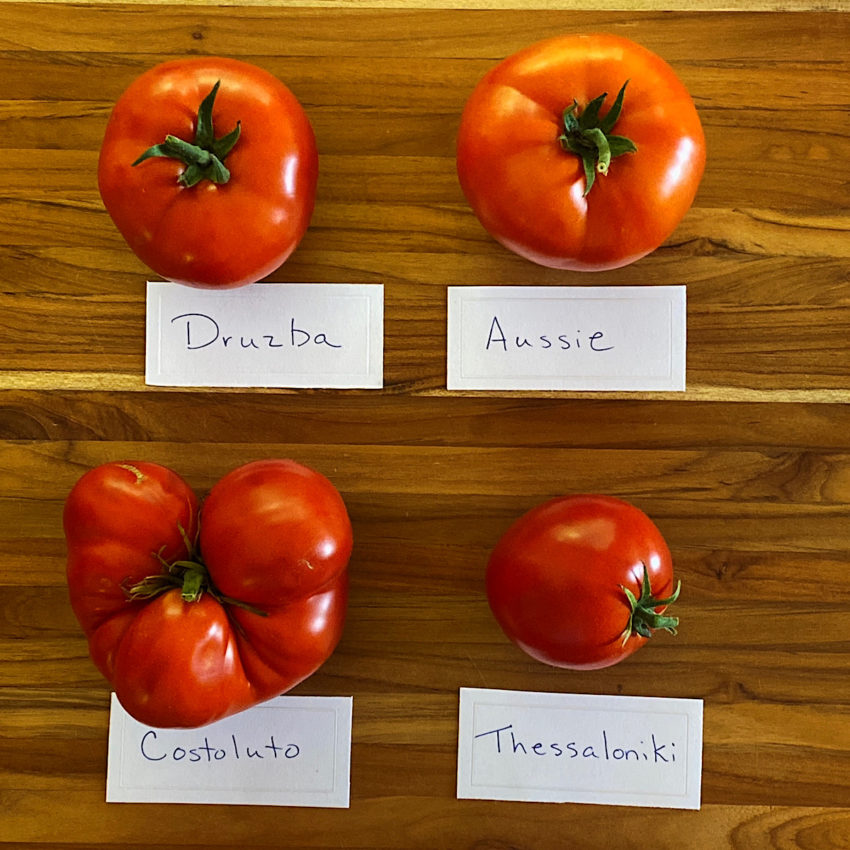
More Popular Heirloom Tomatoes for Salsa:
- Meaty, balanced tomato varieties like Opalka or Box Car Willie for your ‘basic’ salsa. They offer the perfect ratio of sugar and acid.
- High-acid tomato varieties like Druzba or Green Zebra for a “robust” salsa.
- Bright orange tomato varieties like Kelloggs for a fruity flavor profile.
- Yellow tomato varieties like Hughs or White Queen for their creaminess and mild flavor with low acid levels.
You can find a full list, including flavor profiles, in my post on the best tasting heirloom tomato varieties
Most heirloom tomatoes are of the indeterminate variety. This means they produce all season long, until frost sets in. It also means they get quite tall, so get a nice and sturdy trellis or stake to place in your container.
If you have specific tomato or pepper varieties in mind and can’t find them to purchase, you might want to consider starting your own peppers and tomatoes from seed.
Tip: Determinate tomatoes are the easiest to grow in a container, as they are not vining tomato plants and therefore do not require a trellis.
Best Chile Peppers for Salsa
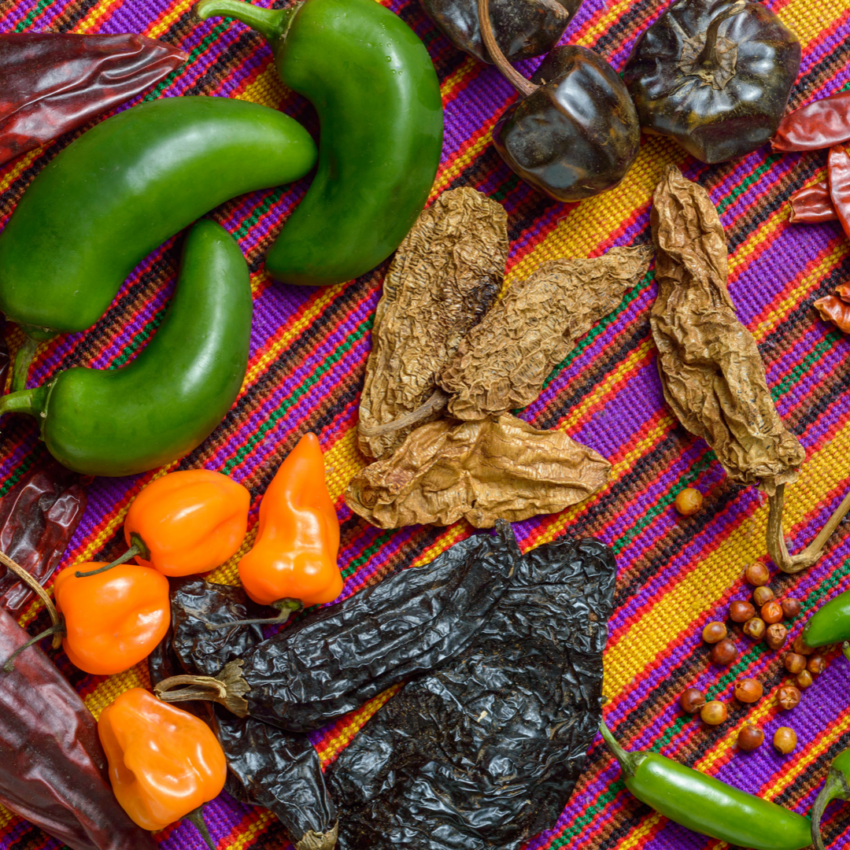
There are loads of different chili pepper varieties that work perfectly in salsa. Some folks actually like to skip them altogether out of fear things will become too spicy, but don’t forget that the some peppers can add flavor without being overly spicy.
Popular chili peppers to use in salsas, which you can grow at home, include the following (ranked according to spice level):
- Poblano
- Jalapeño
- Fresno
- Serrano
- Cayenne
Salsa Rojo with Store-Bought Ingredients
Of course, not everyone has the time or location to grow a fresh salsa garden. Fear not, you can make excellent salsas with ingredients from the store.
This Copycat Chipotle Hot Salsa uses Rotel tomatoes and chipotle peppers in adobo sauce for an excellent salsa, especially in winter when fresh tomatoes are not at their best.
If you do however, want to take on growing your own salsa garden, read on for how to plan and then maintain it.
Complementary Plants to Include in Salsa Garden
Onion
The most common choice for salsa, when it comes to onions, is regular white: relatively mild and somewhat sweet. That being said, you can really use any type of onion you like, as the flavors aren’t that dissimilar.
Yellow onions are generally a bit more pungent and red adds a great pop of color to your salsa.
Garlic
This one is a bit of an optional ingredient. Garlic is a key ingredient of salsa, but it is a bit tricky to grow in your container, as it needs to be planted the previous Fall. If you take your salsa project extra seriously, it is possible!
If you’re fine buying it, high-quality garlic can usually be found at local farmers’ markets, so it’s not imperative to grow your own. Grocery store garlic also tastes fine.
If you do opt to grow your own garlic, choose garlic to plant based on the climate in your region. Seed garlic that you get from a catalog works best, since not all the garlic you find at your local supermarket will produce well.
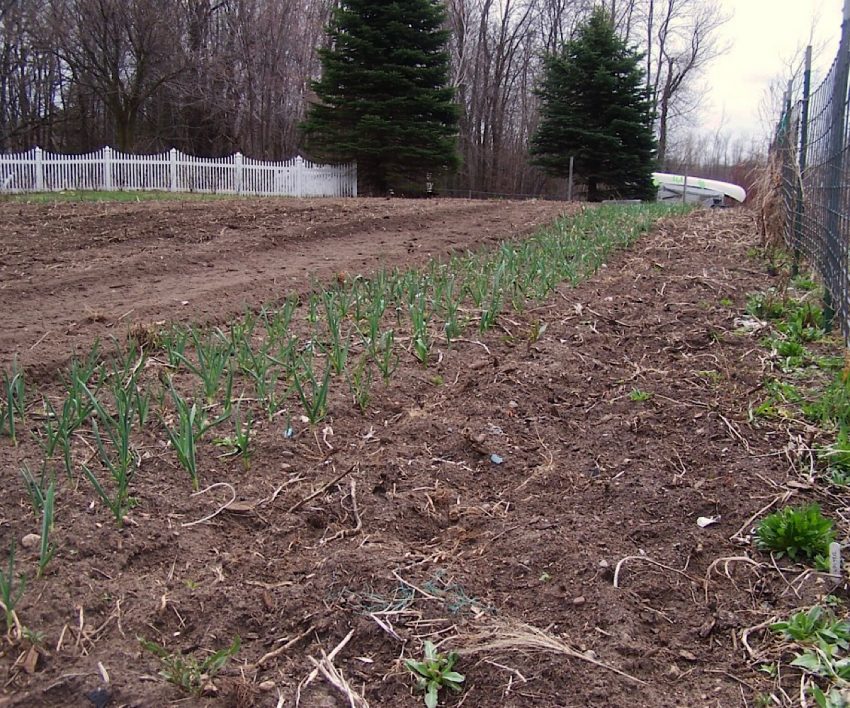
Garlic types marked as ‘hard-neck’ are best for areas that get harsher winters. ‘Soft-neck’ garlic is milder and works in zones that don’t get as chilly. Plant individual cloves 1-2 months before frost sets in in order to harvest the following Spring-Summer.
Cilantro
There are a lot of different types of cilantro, but whatever fresh plants your local supermarket has to offer should adapt fine to the container garden life.
If you want a specific variety, you’ll probably have to opt for growing from seed.
If you grow your own cilantro, know that you may need to reseed it throughout the Summer as it tends to bolt quickly.
Bonus: Tomatillo
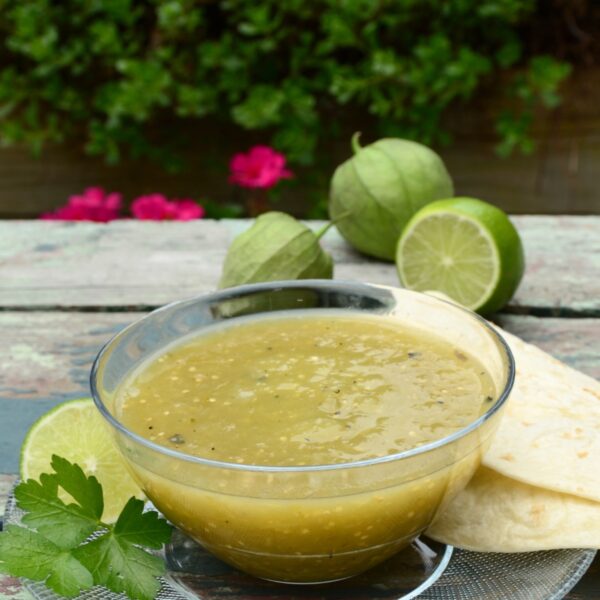
It would almost be a crime not to list the tomatillo on a list of vegetables for a salsa garden. A distant cousin of the more common tomato, this Mexican vegetable is a wonderful addition to salsa. I make it often in this homemade green salsa recipe (salsa verde).
It’s a little more tart and very easy to grow in the garden bed. It can get quite rangy in a container however.
Know that a tomatillo plant reseeds vigorously so if you have it in your garden this year, you will most likely have it next year also.
Step 3: When and How to Plant
Once you’ve got everything you need on hand and the last risk of frost has passed, it’s time to start actually planting your salsa container garden.
Find a good spot for the two planters before filling them up, because they’ll end up pretty heavy. You’ll want to go for a nice and sunny location for salsa success!
You can plant your salsa garden as follows:
- Container 1: Staked tomato plant in the back, garlic and a few onions in front. Cilantro can go in-between.
- Container 2: Same story, but with the pepper plant in the middle.
If you did decide to try your hand at growing tomatillos as well, you can easily add a third planter, allowing you to add more garlic, onions and cilantro too.
Step 4: Caring for your container garden
Sun
As mentioned, your salsa container garden will need plenty of sun to thrive, at least 6 hours daily. The plants will grow scraggly and fail to produce well if they’re in an overly shaded spot.
Water
One of the disadvantages of growing veggies in containers rather than in full soil is that it’s a little more difficult to achieve a good balance in watering. Many pots dry out quickly in the Summer heat!
Try being consistent about watering to avoid the dreaded blossom end rot for tomatoes. Poke your finger down 1” and if it is dry, it’s time to water.
Fertilizer
Some plant food is especially important when container gardening. After all, the amount of nutrients in a pot isn’t infinite and they are depleted as the summer goes on.
Use a high-quality fertilizer meant for vegetables (i.e., a balanced N-P-K, and follow the instructions on the bottle. Then it is a matter of monitoring your plant.
Yellow leaves usually means the tomato plant needs more nitrogen. Purple leaves mean it needs more phosphorus.
Step 5: Salsa Harvest Time!
When to harvest
You can harvest your tomatoes when they’re red all over and firm but not hard to the touch.
With chile peppers, the perfect moment depends on the type of chile and your own preferences. For example, although jalapeños are usually eaten when still green, you can leave them to redden if you like a sweeter and significantly more fiery flavor.
Onions are pretty much ready to go at any time, as long as they’re big enough for your liking. The same goes for cilantro.
Garlic can be harvested when the above-ground leaves begin to yellow and die.
Frequently Asked Questions
This depends a little on factors like how much lime you added, but it should keep for at least 3 days in a sealed container.
Yes, actually, and it’s not considered a food crime either: quite some authentic salsa recipes use canned tomatoes. Just make sure you get the best brand you can find, because the tomatoes determine most of the flavor.
Yep, that’s absolutely fine. Jarred garlic isn’t quite as aromatic and is milder, but in a pinch it works almost just as well.
If you like my articles about cooking and gardening, subscribe to my weekly newsletter, where I share free recipes and gardening tutorials.
Video: Growing a Salsa Garden in a Pot
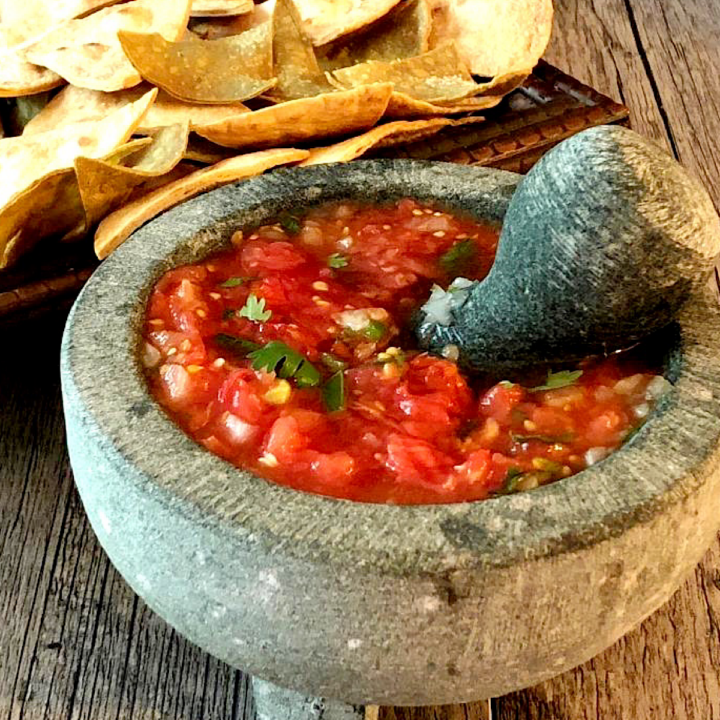
Salsa Roja Recipe
Equipment
- Oven (or grill)
Ingredients
- 1 Lb tomatoes
- 2 jalapeños or your favorite chile pepper
- 2 garlic cloves (or 3 if you like it garlicky!)
- 1 onion
- 1 cup cilantro chopped
- 1 lime
- 1 Teaspoon salt
- ¼ Teaspoon cumin optional
Instructions
- Preheat oven broiler to high.
- Halve the tomatoes and the jalapeños. Peel the garlic and chop the onion into big pieces.1 Lb tomatoes, 2 jalapeños, 2 garlic cloves, 1 onion
- Place the tomato, jalapeño, garlic and half the onion on an oven tray skin-side up. Pop them under the broiler until the skins are blackened. Peel tomatoes when cooled a bit
- Transfer the vegetables to a blender or food processor, adding the other half of the onion and the cilantro. Pulse until smooth (or whatever your preferred salsa consistency is).1 cup cilantro
- Give the salsa a try. You may need to adjust the seasoning (salt, lime, etc.) depending on your preferences.1 lime, 1 Teaspoon salt, 1/4 Teaspoon cumin
- You can serve your salsa immediately or let it cool first. It lasts at least 3 days in a sealed container in the fridge.
Notes
- You can add a pinch of thyme, oregano, paprika, dried parsley, adobo seasoning or whichever herbs and spices you prefer. Experiment a little to find your salsa style!
- Instead of grilling your veggies in the oven, you can also char them on a BBQ. Many salsa enthusiasts even just char them in a frying pan.
- Got tomatillos? You can totally replace one of the tomatoes in this recipe with a tomatillo. It adds a bit of tangy flavor.

Leave a comment