Quick Summary: Homemade corn tortillas using masa harina and a tortilla press. Three ingredients, about 30 minutes start to finish. Includes tips on pressing, cooking on a comal, and getting the signature puff. Prep: 20 min | Cook: 2 min per tortilla | Makes: 19 tortillas
Jump to: RECIPE | Masa vs Masa Harina | Step-by-Step | How to use tortilla press | How to use comal | The Tortilla Puff | FAQ

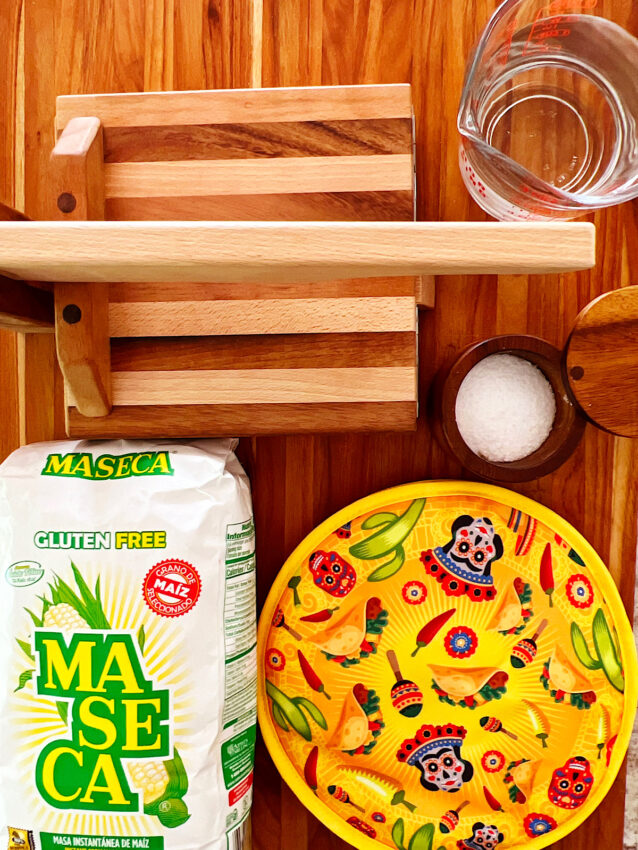
Corn tortillas are one of those things that are 100 times tastier when made at home rather than store-bought. A tortilla press is helpful if you want the perfect thickness and size, but the ingredients themselves couldn’t be simpler: masa, water and salt.
I learned to make these from a friend from the Bajío region of Mexico, and I’ve since had the wonderful experience of watching tortilla makers in Oaxaca work through stacks of them at restaurant speed. Once you taste the difference from store-bought, you won’t go back.
This post may contain affiliate links, and you can read our disclosure information here–
What’s the Difference Between Masa and Masa Harina?
Corn tortillas are made with masa or masa harina, corn that has been dried, and cooked in water with lime from which it gets this distinct flavour.
Nixtamalization is technically defined as a process for the preparation of corn, or other grain, in which the grain is soaked and cooked in an alkaline solution, usually limewater, washed, and then hulled.
Prepared masa harina is nixtamalized corn that is dehydrated and this is what is commonly available in most grocery stores these days. It is sometimes referred to as corn flour or “instant masa”, as it comes together into a masa dough with the addition of water.
If you are lucky you may be able to purchase fresh masa dough from a Latin grocery store, but if you can only find masa harina it can certainly give you a close approximation of the texture and flavor of the fresh dough. You just need to add some water and salt and work it correctly.
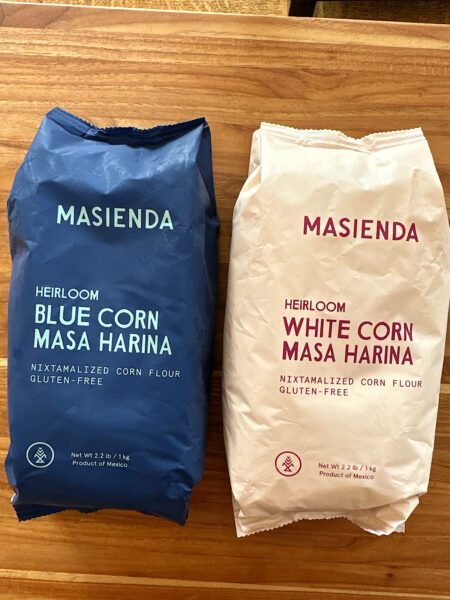
Common brand names of the masa harina are Maseca, Bob’s Red Mill Organic and Gold Mine. If you want to try a nixtamilized corn masa harina from Oaxaca however, this heirloom corn masa harina from Masienda is a superb option.
Wood vs Cast Iron Tortilla Press: Which is Better?
A tortilla press is a simple, kitchen tool that presses golf-ball-size rounds of dough into thin, flat tortillas. It is much quicker than a rolling pin and gives you uniform sized tortillas, which makes the tortilla cook more evenly and makes it less likely to crack or fall apart.
It is really hard to get the tortillas as thin as they should be using a rolling pin, and much more frustrating. I would highly recommend a tortilla press if you are planning on making Mexican food with any frequency.
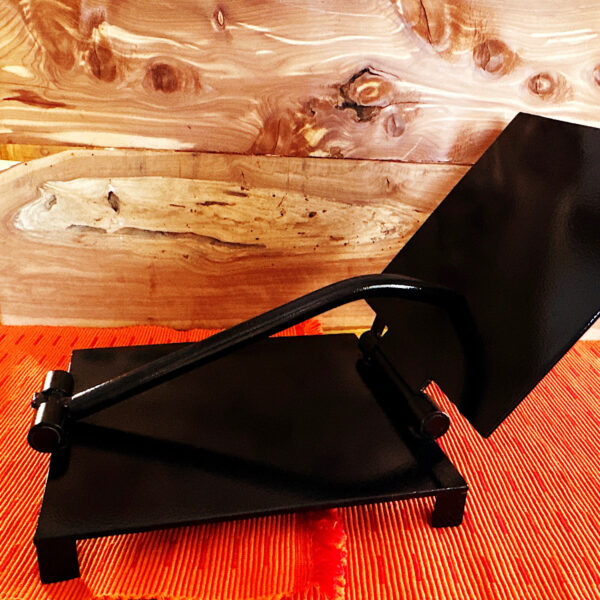
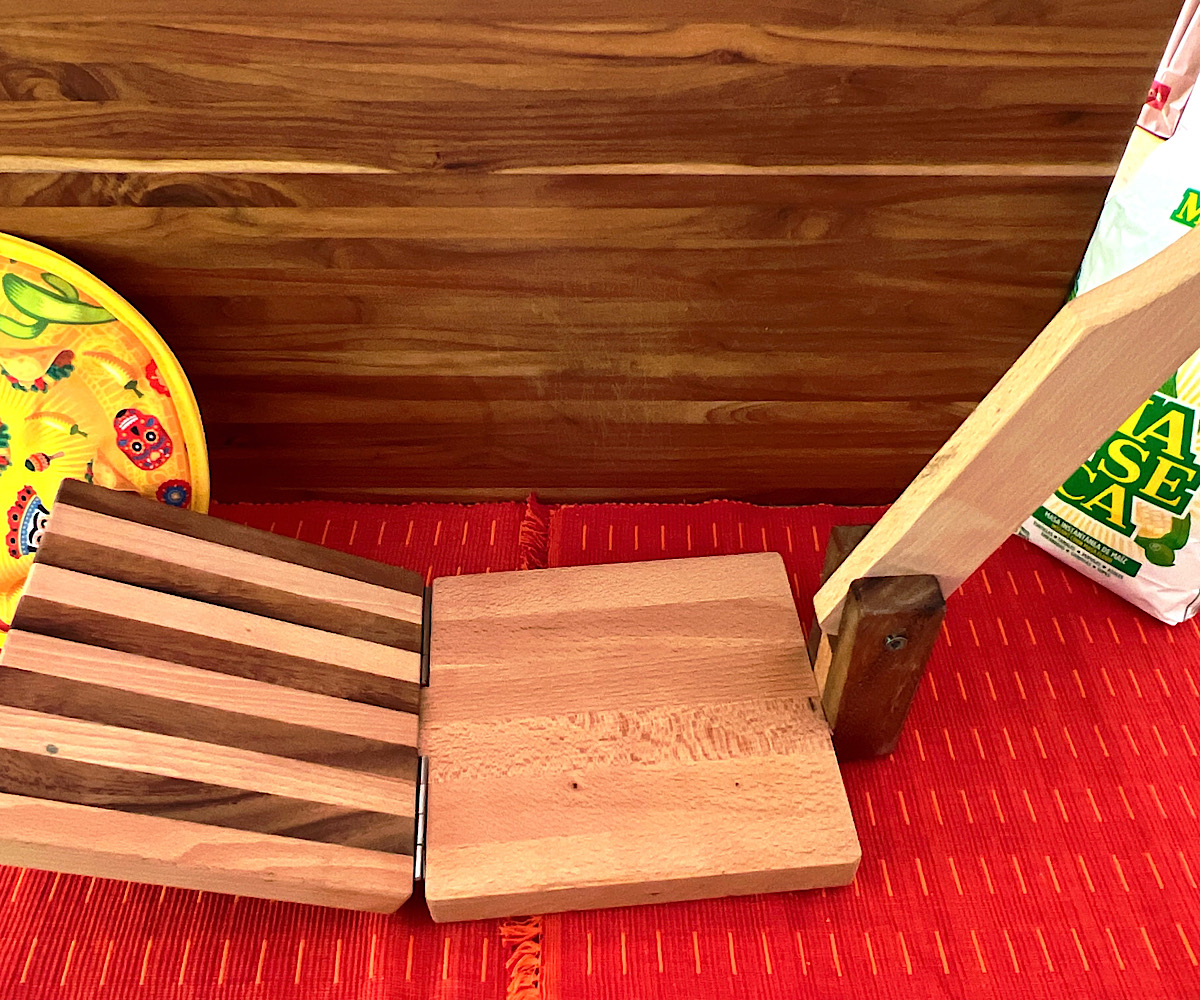
You can opt for wood tortilla presses or cast iron or carbon steel. The wood one is a bit easier to clean. but the iron and steel ones don’t require as much arm strength for leverage, and it flattens the tortillas quickly.
Your arms can get pretty tired when making a huge stack of tortillas for a party or fiesta!
It is a matter of preference on the tortilla press regarding whether you like the lighter wood or the heavier cast iron or steel.
I prefer the heavy steel press and am delighted with this carbon steel tortilla press from Masienda. This is a similar carbon steel press you can purchase on Amazon.
One of the many reasons I like these carbon steel ones so much is because they are really heavy and have a “tight calibration”, which means I can make a whole range of tortilla thicknesses (like thick gordita’s).
My teenage friend from Mexico would only go with wood however, as that is what she grew up with in her home.
In addition to the press, you will need plastic wrap to keep your tortillas from sticking to the press.
Mi amiga from Bajío insisted upon cutting up the plastic from the bags used for vegetables in the grocery store. She wouldn’t hear of ziplock bags or cling wrap, let alone parchment paper or wax paper.
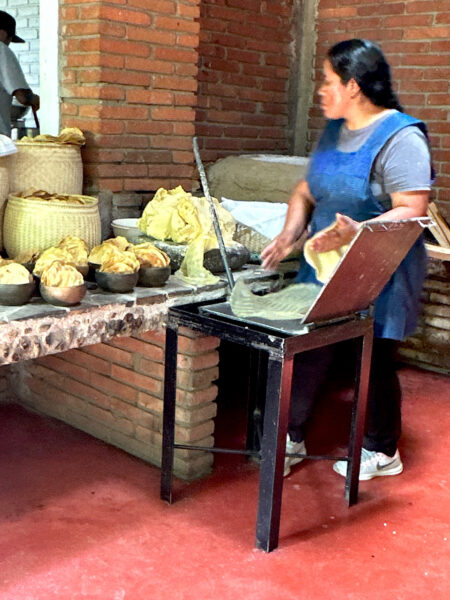
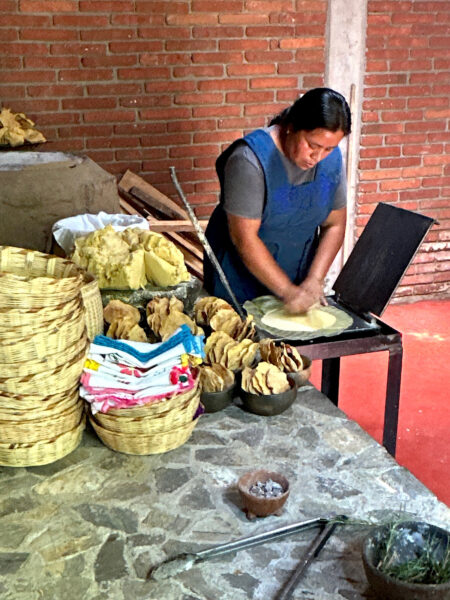
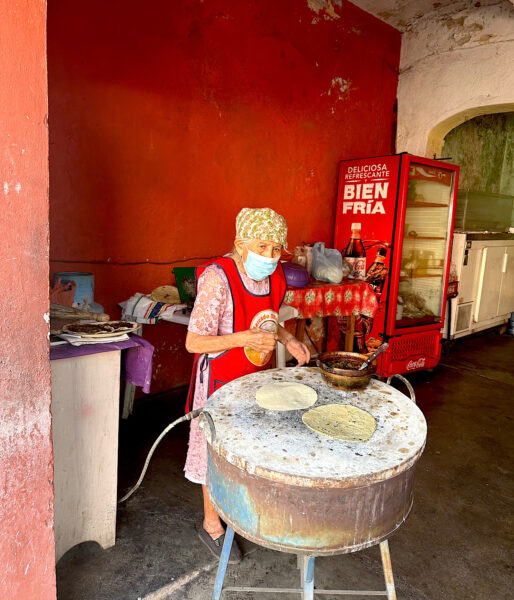
After watching the pros make tortillas on a trip to Oaxaca, I think she may have been right (see photo below of Oaxaca restaurant worker making tortillas en masse).
Whatever you use to keep from sticking, make sure there is a piece on the base plate and then a piece to go on top of the dough ball.
How to Make Corn Tortillas Step by Step
The first time you make corn tortillas by hand is a bit intimidating. Once you taste the difference however, you will quickly get over any hesitancy and take it on until it becomes easy.
Step #1: Add the water to masa harina and knead the dough until it is pliable and the consistency of play dough.
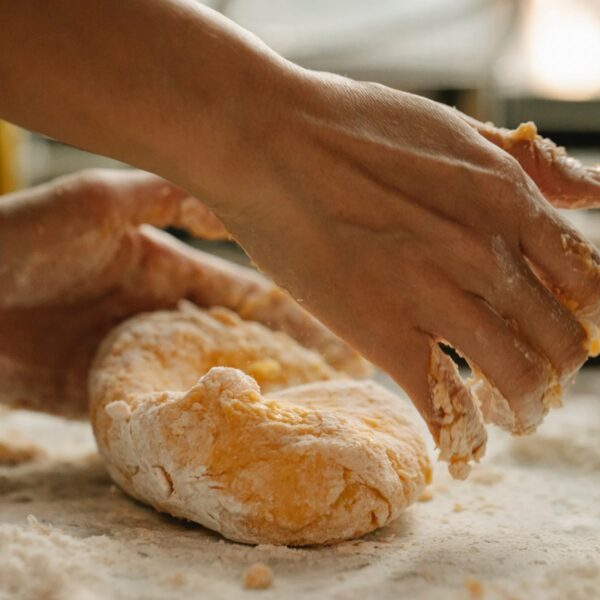
Tips for Kneading the Tortilla Dough
See the video in the recipe card for a visual look at the kneading process.
It should feel pliable but firm, kind of like the texture of play-dough. If it is sticking to your hands add in an extra tablespoon of masa. If it feels too dry and crackly, add in an extra tablespoon or two of hot water.
Cover with a towel to prevent the dough from drying out. Leave to rest for about 20 minutes.
**Tip: Resting the dough helps the flour to absorb the water making it easier to roll out.
The trick to getting the perfect tortilla dough is getting the correct ratio of masa harina to water and not over-kneading it.
It’s best to start with half of the hot water called for in the recipe, knead it in with your hands, add then add the rest of the water called for in the recipe. If it feels dry to your touch, add water a teaspoon at a time until you have a soft dough.
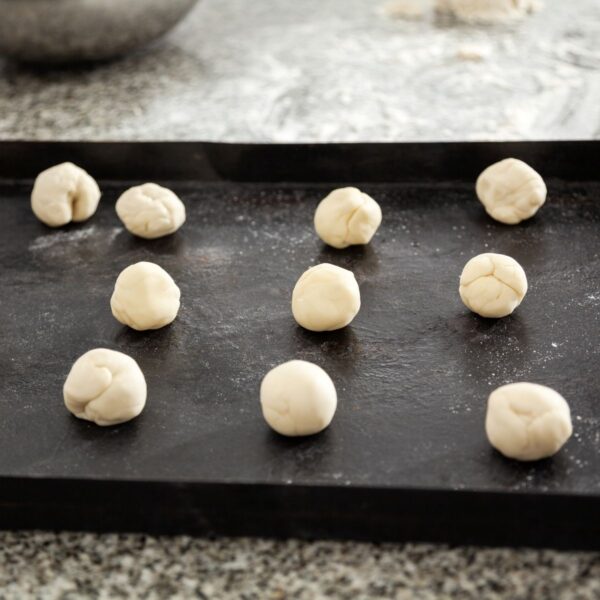
Step #2: Form the dough into golf-ball-size balls and set aside to rest.
Step #3: Place the dough ball between two pieces of plastic in the center of a tortilla press and use the handle to press down. Grab both sides of the plastic wrap with the tortilla in between and flip it over. Press again. It should be about 5 inches diameter.
Gently peel the tortilla away from the plastic wrap. Your tortilla is now ready to cook.
**Tip: After flattening it the plastic should peel off effortlessly. If it’s sticking then there’s probably too much water in the dough.
Step #4: Heat the comal or griddle up to medium high. Gently peel a tortilla from the plastic and place it on the griddle. Cook it on the griddle until it starts to lift (about 30 seconds). Flip the tortilla and cook until it starts to lightly puff which indicates that it is fully cooked. Cover with a cloth to keep warm and moist.
You will probably see brown spots forming on the underside in 30-60 seconds. Everyone’s heat source varies depending on your stove, elevation and climate.
If it’s taking significantly longer for brown spots to form then you’ll need to raise the heat. If you’re getting black spots forming in a matter of seconds then you need to lower the heat.
How to Cook Tortillas on a Comal or Griddle
A comal is a cast iron skillet with no sides and a griddle is the same thing in a different shape or size.
I have a cast iron griddle that fits neatly over my burners and find that I use it frequently as I can do three tortillas at a time.
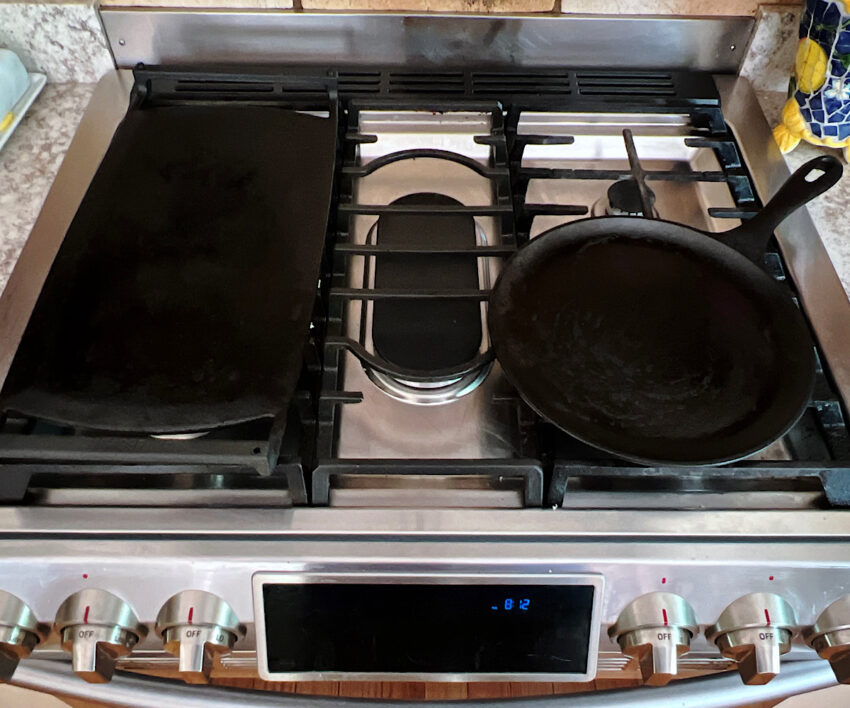
I do use the comal also, for tortillas and a bunch of other things (like toast). This comal made of carbon steel is round, and it is easier to store than a large griddle.
You can also use a cast iron skillet of course, but the sides make it a little trickier to use.
While you are pressing the first tortilla turn the burners up to medium high to heat the griddle. Peel a tortilla from the plastic and cook it on the griddle until it starts to lift (about 30 seconds).
Flip the tortilla until it starts to lightly puff which indicates that it is fully cooked. Cover with a cloth to keep warm.
While in Oaxaca I saw many different types of burners used for making tortillas (see photo below).
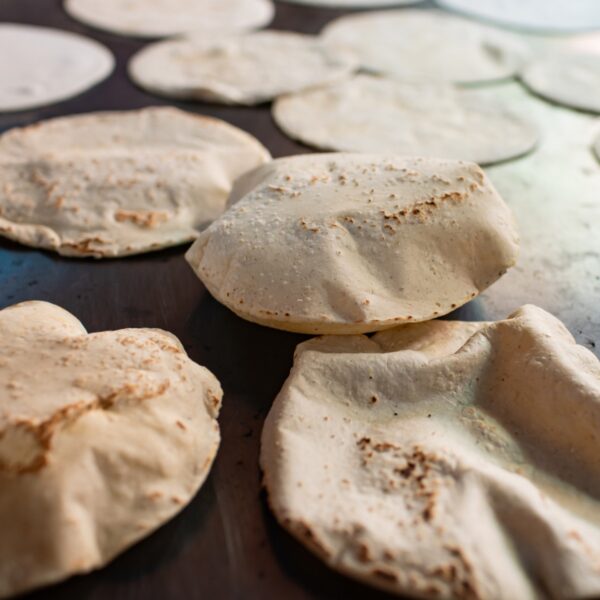
Why Do Tortillas Need to Puff Up?
The signature “puff” of a tortilla cooking on a comal is where the moisture in the center of the masa dough expands outward in the form of steam. This actually helps the tortilla to cook evenly through the center while still keeping its elasticity.
The grind and elasticity of the masa harina are important in achieving the puff, so make sure you use quality masa harina. The finer the grind, the higher the moisture uptake, the more likely the puff.
A few things to keep in mind regarding the puff:
- The amount of water: As you are adding water to the masa harina, start with less than the recipe calls for and then add teaspoon-by-teaspoon of water to the point where you can knead it without it sticking to your fingers. It shouldn’t crack around the edges when you flatten it in the press
- The thickness of the tortilla dough: the thicker the dough, the higher temperature you’ll need to cook through the center. Tortilla presses can make very thin dough, but keep the temperature of the comal/griddle pretty high and just cook in a shorter amount of time.
- The temperature of the griddle: the griddle should be around 400 F, which is usually medium-high on the stovetop. It can be higher heat, but just decrease the amount of time on the comal so the co doesn’t dry out before you get the puff.
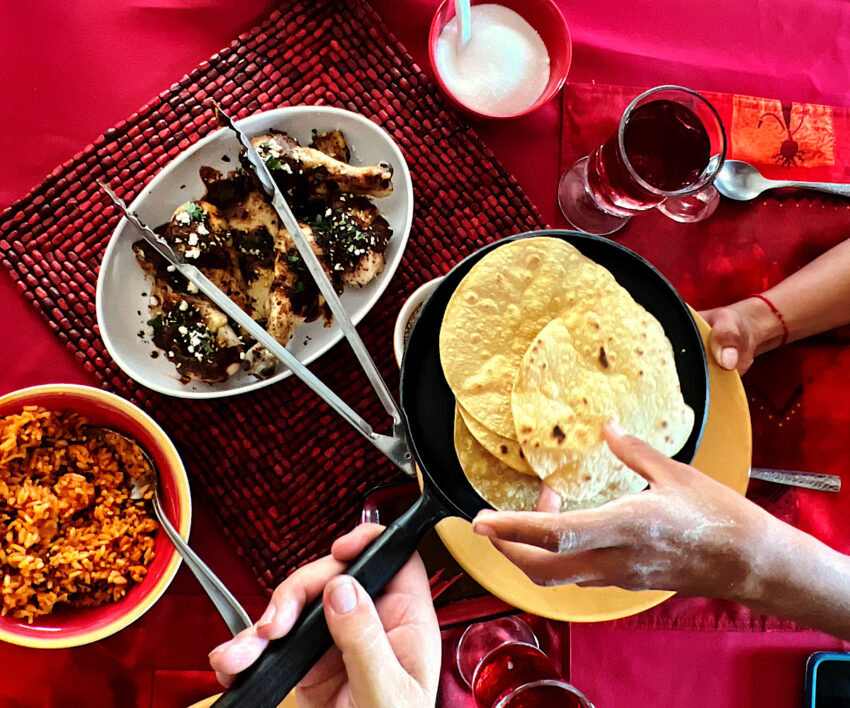
Do You Need a Tortilla Warmer?
Tortilla warmers will not only keep your tortillas warm, but they will also hold in moisture in the form of steam that helps keep a tortilla soft and pliable throughout your meal.
You definitely don’t want to go to the work of making those beautiful tortillas and then have them get dry and crumbly before dinner is finished.
You can use a clean kitchen towel, a basket, or a tortilla warmer or pouch….just use something to keep them warm and pliable!
What About Low Carb Tortillas?
Most tortillas are not low carb fare. They are either made with corn flour or white flour, neither of which is low carb or slow carb.
I have put together a list of some of the better store-bought alternatives, as well as a way to make your own low carb tortillas if you want further info on low carb tortillas.
Otherwise enjoy these homemade corn tortillas with your meal, but load up on the protein and maybe skip the rice and chips if you follow a slow carb lifestyle.
Frequently Asked Questions
Once cooled, store in a Ziplock bag in the refrigerator for up to a week. Reheat in a dry skillet for about 15 seconds per side.
Yes, but a rolling pin makes it harder to get uniform thickness and the tortillas tend to tear. A press is worth it if you plan to make tortillas regularly.
The dough is too dry. Add water a teaspoon at a time and knead until it feels like Play-Doh and doesn’t crack when pressed.
Usually one of three things: the dough is too wet, the griddle isn’t hot enough (aim for around 400°F), or the masa harina is too coarse. A finer grind puffs more reliably.
Maseca and Bob’s Red Mill are widely available and work well. For a step up, Masienda’s heirloom white or blue corn masa harina is excellent.
Both work. Wood is lighter and easier to clean. Cast iron or carbon steel has better leverage and makes pressing easier on your arms, especially for large batches.
Homemade Corn Tortillas
Equipment
Ingredients
- 2 Cups Masa harina
- 1 ¼ Cups hot water Start with 1 cup and add the rest as needed
- 1 ½ Teaspoons salt
Instructions
- Combine masa harina with salt and then add water. Start with 1 cup of warm water and add a tablespoon at a time until you can knead it without it sticking to your fingers.Knead thoroughly with your hands until it forms a soft dough, similar to Play-Doh(don’t overwork it). If you get it too wet, add a little more masa harina.2 Cups Masa harina, 1 1/4 Cups hot water, 1 1/2 Teaspoons salt
- Take a small amount of dough in your hands and form into a golf-ball-size ball. It should weigh 1 ounce if you have a scale available. This is the amount to aim for in the next 18 balls. The bowl of masa should make about 19 balls of 1-ounce each. You can weigh each one if you want or just estimate. They should be about golf ball size to make 5-inch tortillasLet the masa balls rest while heating up the griddle or comal to medium-high heat. You can place a little oil on the griddle it if desired.
- Line a tortilla press with a sheet of plastic wrap cut into two pieces (a thin plastic bag from the grocery store used for vegetables works well here).Place each ball on the bottom layer of plastic wrap and cover with the other sheet of plastic wrap. Use the lever to press the tortilla ball flat. It should end up being about 5 inches in diameter. Carefully peel off tortilla from plastic wrap and place on griddle.
- Flip the tortilla after about 10 seconds, then cook each side for 30 seconds to a minute or until brown spots form on each side. Don’t be afraid to flip the tortillas if they are getting too brown. You can use tongs or your fingers to flip.On our griddle we were able to make 3 tortillas at a time, but it will depend on the size of your griddle or comal or skillet.
- Place tortillas in a tortilla warmer or cover with a cloth napkin to keep them soft and warm. To reheat: Tortillas can be reheated in skillet or griddle (15 seconds per side)