Quick Summary: Keeping container gardens watered while traveling is one of the biggest challenges for balcony and patio gardeners. Solutions range from simple wine-bottle type of spikes for weekend trips to Smart Drip Irrigation systems for extended travel. This guide covers four approaches matched to trip length, plus an example of a setup of a Smart Drip System in a Colorado container garden. Prep varies | For trips from 3 days to 4+ weeks
Jump to: Trip Length? | Watering Spikes | Self-Watering Planters | Rain Barrell with Soaker Hose | Smart Drip System Example | Example Project | Tips | FAQ
My daughter wanted to grow tomatoes, peppers, and herbs for cooking, but she lives in Denver where the high-altitude sun and low humidity make watering a constant hands-on effort. She also takes a vacation for a few weeks each summer, so she was at a loss as to how to maintain a garden.
I helped her set up a smart timer system that allowed her to water her plants remotely, and she can now come home from vacation to a garden full of premium homegrown ingredients, ready for a perfect salsa or BLT.
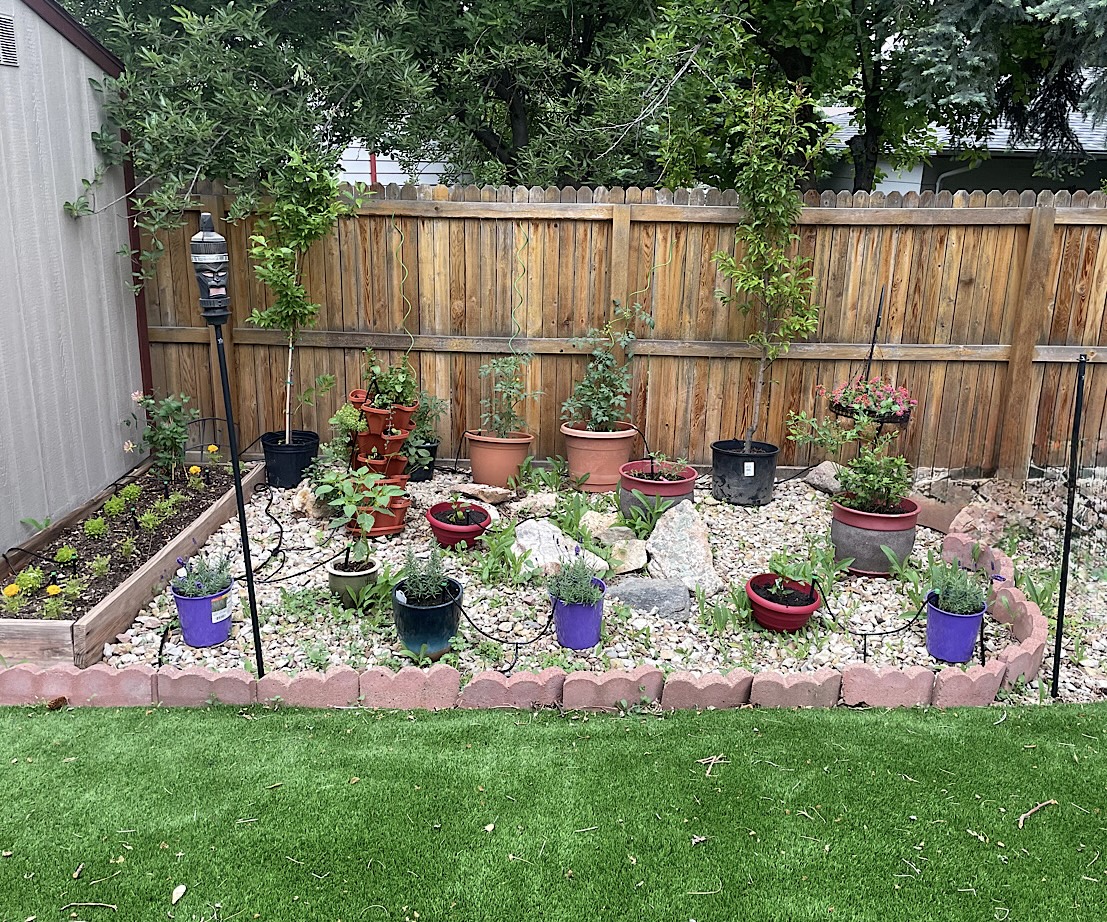
Her backyard was all turf and gravel, so we set everything up as a container garden. Container gardens do dry out faster than in-ground beds. There’s less soil to hold moisture, and pots are exposed to sun and wind lose water from all sides. Even in the best of times, it is a challenge, but when you’re away, this becomes a real problem.
We researched a variety of solutions, and ended up installing a smart drip irrigation system. Here is what I learned in the process about matching watering solutions to trip length and garden size.
Matching Solutions to Trip Length
Not every trip requires the same solution. Here’s a quick guide for options based around your trip length:
- For a Weekend trip (2-3 days), water deeply before leaving. Most established plants in large pots will survive. Consider watering spikes for thirsty plants, or plants in smaller pots.
- For trips around one week, watering spikes or self-watering planters are both decent options. Also move containers to shadier spots if possible.
- For two week trips, self-watering planters with large reservoirs, or basic drip irrigation are the best options. Also, ask a neighbor to check mid-week.
- For three weeks or longer, drip irrigation with a timer is essential. Smart timers with app control let you adjust from anywhere.
A note for hot, dry climates (Denver, Phoenix, etc.): Assume you need one level more protection than the trip length suggests. A week in Denver acts like two weeks in Minnesota. If you’re in a humid climate like the Southeast, you may need less intervention than these guidelines suggest.
Watering Spikes: The Weekend Solution
Watering spikes are the simplest option for short trips and small collections of plants.
How Watering Spikes work and their limitations:
They work through a terracotta or plastic spike with a small opening at the bottom. You fill a wine bottle or soda bottle with water, attach it to the spike, and insert the spike into the soil. Water slowly drips out as the soil dries.
Spikes work well for weekend trips, individual high-value plants, or as a supplement to other systems. The limitation is capacity. Most bottles empty in 3-5 days depending on heat and plant size, so they’re not practical for large container gardens or longer trips.
About one week before you leave, test your spikes. Fill them, insert them, and see exactly how long they last in your conditions. A spike that empties in 2 days in July heat won’t help on a 5-day trip.
My favorite are the ceramic spikes that accept standard wine bottles. They’re more attractive than plastic, release water more consistently, and wine bottles hold more than soda bottles.
Self-Watering Planters: Set and Forget (For a While)
Self-watering planters have built-in reservoirs that water plants from below.
How they work and their limitations:
- How they work: A reservoir in the base holds water. A wicking system draws moisture up into the soil as plants need it. You fill the reservoir through a tube or opening, and the plant waters itself.
- These planters work especially well for herbs and vegetables that like consistent moisture. Tomatoes, peppers, lettuce, and culinary herbs all thrive in them. They’re also forgiving for gardeners who tend to underwater.
- The limitation is reservoir size. Most hold 1-2 weeks of water in moderate conditions. In hot weather, expect less. Plants that prefer to dry out between waterings, like succulents or Mediterranean herbs such as rosemary and lavender, may stay too wet in these planters.
- Setup tip: Only water from the top once, when first planting. After roots establish, all watering should come from the reservoir. This encourages roots to grow down toward the water source.
- Container size matters here too. A 15-gallon self-watering planter holds more soil and more reservoir water than a 5-gallon version. The larger container might sustain a plant for two weeks while the smaller one needs refilling after five or six days.
Rain Barrel with Soaker Hose: The Gravity-Fed Option
For larger container gardens with space for a rain barrel with a soaker hose allows gravity to do all the work.
How it works and its limitations:
The setup is straightforward: a rain barrel sits higher than your containers, and a soaker hose connects to the barrel’s spigot. The hose runs past your pots, and gravity creates enough pressure to push water through the tiny openings, providing slow, continuous moisture.
This approach works well for balcony or patio gardens where the barrel can sit on a stand or elevated surface. It also reduces water bills and is good in areas with regular rainfall.
The limitations are real, though. You need an elevation difference, with the barrel higher than the pots. The system won’t work if rain doesn’t refill the barrel during your trip. And flow rate depends on pressure, which depends on height. They are also a little on the spendy side.
Before you leave, clean the hose and check for clogs. Debris can block the tiny openings. Fill the barrel completely and note the water level so you can estimate usage.
Important: Some states restrict rainwater collection. Colorado has historically prohibited it, though laws have relaxed somewhat for residential use. Check local regulations before installing a rain barrel.
Drip Irrigation with Smart Timer: The Extended Travel Solution
For trips longer than two weeks, or in hot climates, drip irrigation with a programmable timer is the most reliable solution.
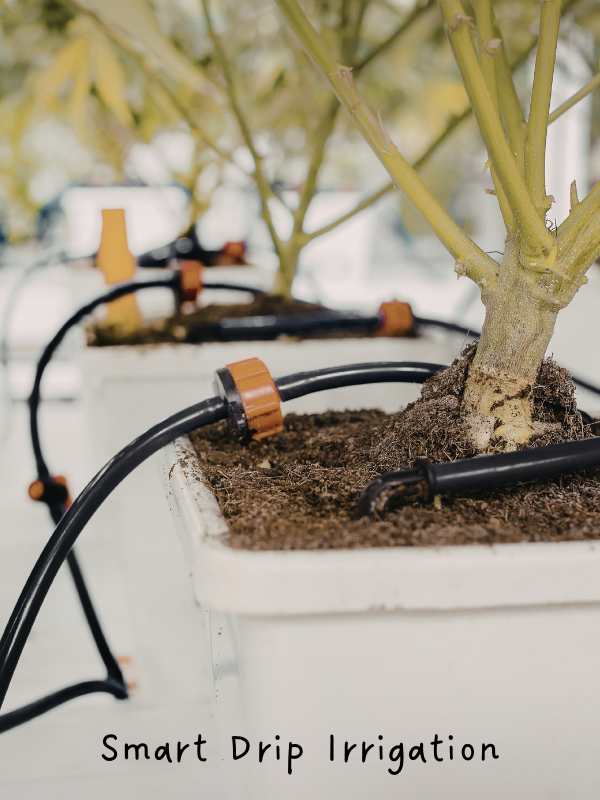
How it works:
A timer attaches to your outdoor faucet. Drip tubing runs from the timer to your containers, with emitters positioned at each pot. The timer turns water on and off according to your schedule, so your plants get consistent moisture whether you’re home or away.
This approach makes sense for extended travel of three weeks or more, large container gardens, hot or dry climates, and gardeners who travel frequently.
A Big Advantage of a Smart Timer: Smart timers add another level of convenience. Wi-Fi connected timers let you adjust watering schedules from your phone. If a heat wave hits while you’re away, you can increase frequency. If it rains, you can skip a cycle.
Basic mechanical or digital timers work fine too, but they can’t be adjusted remotely. If using a basic timer, set a conservative schedule that errs on the side of more water.
A note for apartment dwellers: if you don’t have access to an outdoor faucet, drip irrigation isn’t an option. Self-watering planters and watering spikes become your best alternatives, possibly combined with a neighbor who can refill reservoirs mid-trip.
Drip kit needed components:
- Timer (smart or basic)
- Main supply tubing (usually 1/2 inch)
- Smaller distribution tubing (1/4 inch) to individual pots
- Emitters or drippers (various flow rates)
- Stakes to hold emitters in place
- End caps and connectors
Setting Up a Smart Drip System (Denver Container Garden Project)
Last summer, I’m helped my daughter, Tesla install a container garden at her Denver home. Denver presents specific challenges: high altitude intensifies sun exposure, humidity is low, and summer temperatures regularly exceed 90°F. She travels for 3-4 weeks in the summer, so reliable automated (and remote) watering is essential.
What we ordered:
- Orbit B-hyve Smart Hose Faucet Timer (Wi-Fi enabled, app controlled)
- Drip irrigation kit with 1/4″ tubing and adjustable emitters
- Additional emitters for larger containers
The plan was as follows:
- Map container locations and measure tubing runs
- Install timer at the faucet
- Run main line along the balcony railing
- Branch 1/4″ tubing to each container
- Position 1-2 emitters per pot depending on size
- Test the system and calibrate flow rates
- Set up the app and establish a watering schedule
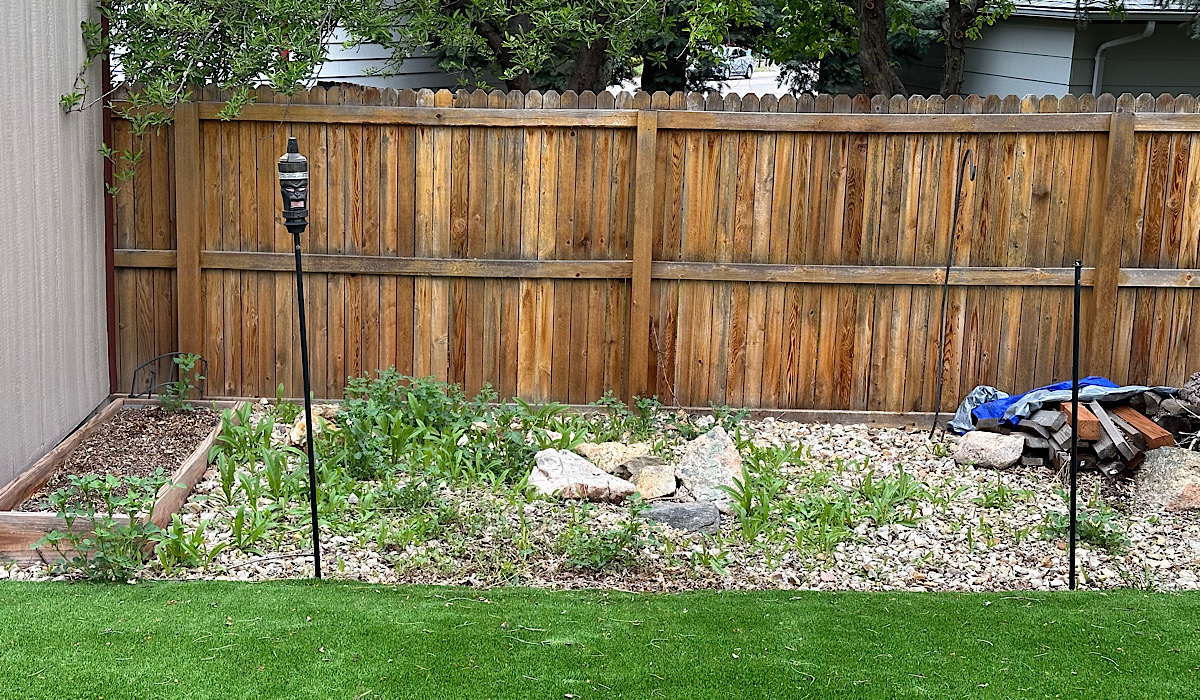
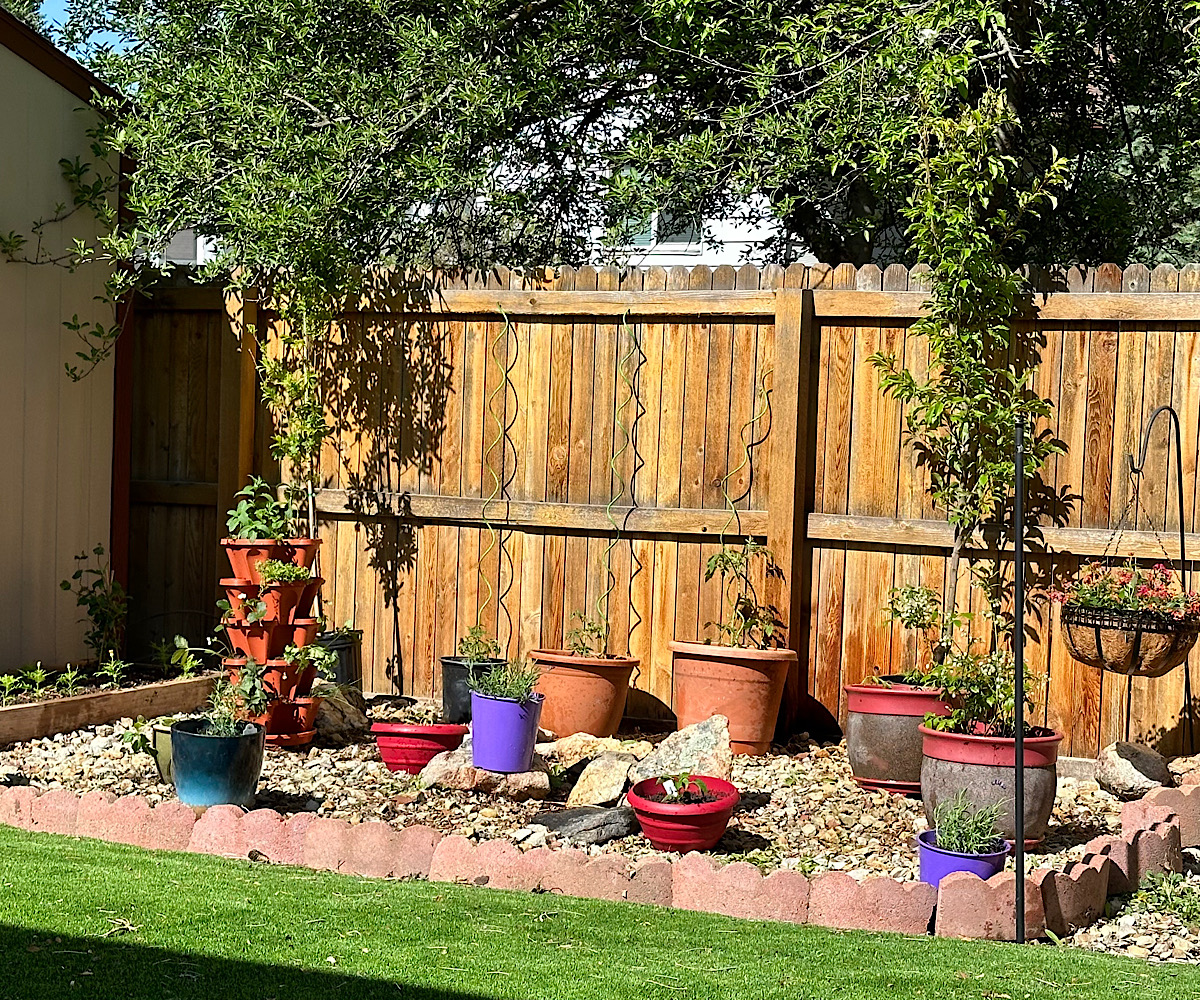
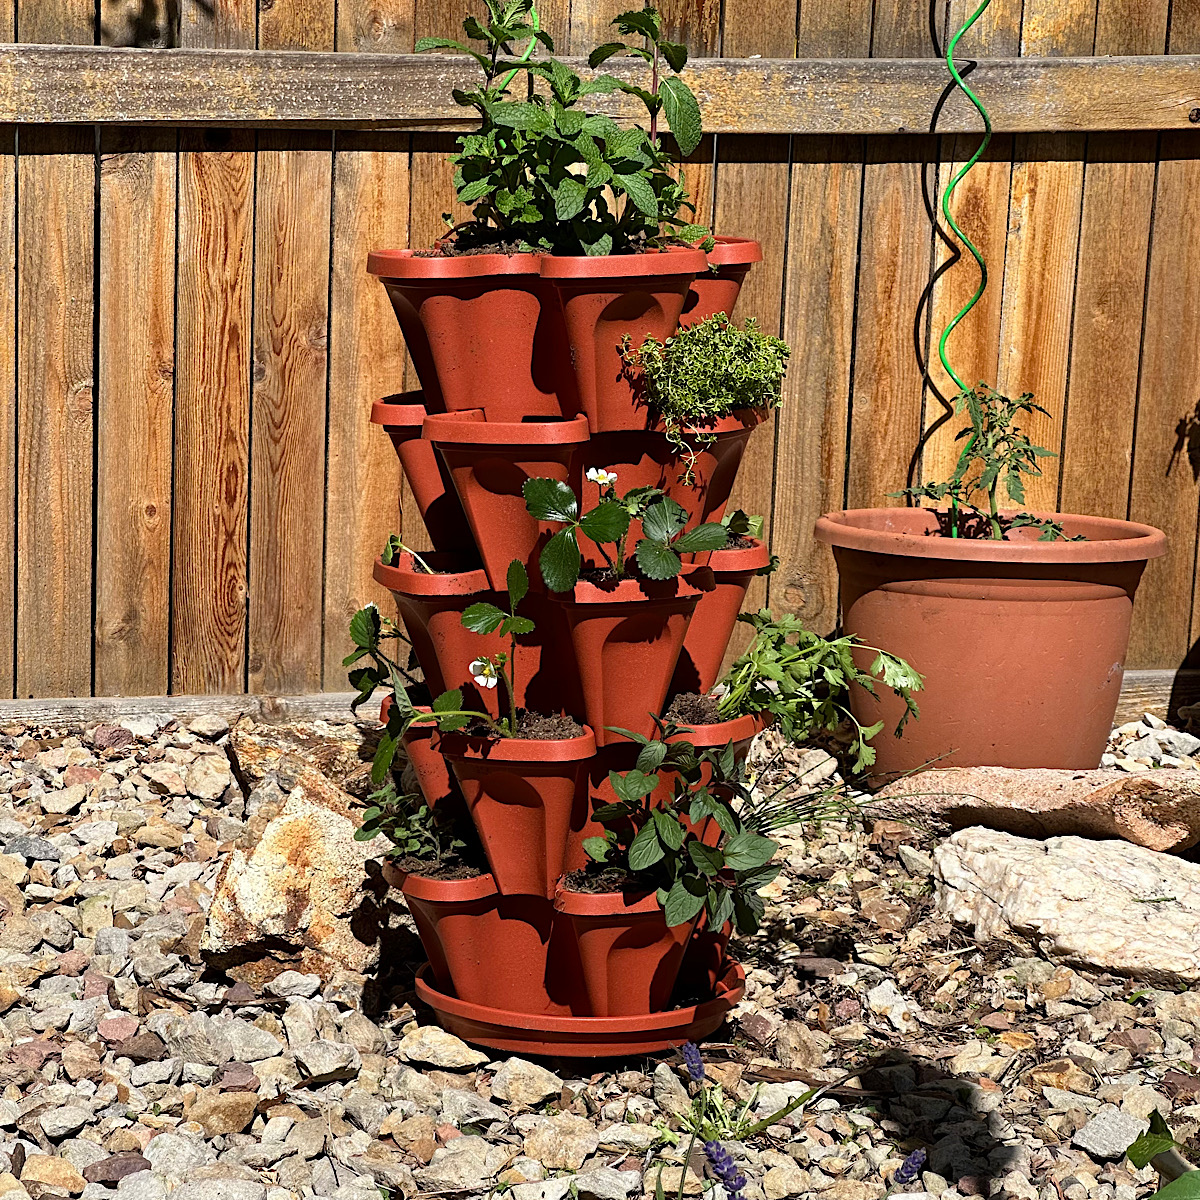
It worked out really well for her, and she was able to leave her new garden for 3 weeks and come back to a flourishing garden of vegetables, flowers and herbs. Here are some of the before and after photos:
Basic Watering Tips for Healthier Container Plants
Whether you’re home or away, these practices keep container plants healthier and reduce watering stress:
- Mulch your pots. A 1-2 inch layer of mulch (bark, straw, or even pebbles) dramatically reduces evaporation. This single step can cut watering needs by 25-50%.
- Choose appropriately sized containers. Small pots dry out faster. For vegetables, aim for at least 5 gallons per plant. Tomatoes and peppers do better in 10-15 gallon containers.
- Avoid porous terracotta pots. Unglazed terracotta looks beautiful but wicks moisture through the pot walls. In hot weather, this can double watering needs. Use glazed ceramic, plastic, or line terracotta with plastic.
- Group pots together. Clustered containers create a microclimate that holds humidity better than isolated pots. This also makes drip irrigation easier to install.
- Water deeply, less often. Shallow daily watering encourages surface roots. Deep watering every 2-3 days (in moderate weather) encourages roots to grow down where moisture lasts longer.
- Water in the morning. Morning watering reduces evaporation and gives foliage time to dry before evening, reducing disease risk.
FAQ
Most vegetable containers need water every 1-2 days in hot weather, sometimes twice daily during heat waves. Check by inserting your finger 2 inches into the soil. If it’s dry, water. Frequency depends on container size, plant size, and weather.
Yes. Start with less water than you think you need and adjust upward. Signs of overwatering include yellowing lower leaves, constantly soggy soil, and root rot. Well-draining potting mix helps prevent problems.
The Orbit B-hyve is reliable and reasonably priced. Rachio makes excellent smart controllers but is overkill for most container setups. Any Wi-Fi timer with app control and multiple scheduling options will work.
If possible, yes. Shade reduces water needs significantly. Just be aware that vegetables need 6-8 hours of sun for good production, so this is a short-term vacation strategy, not a permanent solution.
Wilted plants are obvious. But also check for overwatering signs (yellow leaves, mold on soil surface). Smart timers with flow sensors can alert you to problems. At minimum, ask a neighbor to visually check containers mid-trip.
Yes, but they’re tricky. Hanging baskets dry out fastest of all containers. Use 1/4″ tubing run up to the basket with an emitter inside. Secure tubing well so it doesn’t fall. Consider self-watering hanging baskets as an alternative.
Many apartment balconies lack faucet access, which rules out drip irrigation. Focus on self-watering planters for your main containers and use watering spikes for supplemental plants. Choose the largest containers you can manage, as they hold moisture longer. For trips longer than a week, you’ll likely need someone to refill reservoirs.
For more on growing veggies, herbs and edibles in pots, check out this category of posts on container gardening.